A Simple but fun Easter egg hanging
Decorating your home at Easter can be lots of fun, especially if you are using handmade, or handcrafted decorations. In the following tutorial, you will see how you can help your little kids make a super quick, fun, and colorful hanging easter egg decoration – This is a decoration that will last a long time, and hold fabulous memories too. It is simple to do, but it encourages your little one to use their imaginations, and try new painting techniques too.
What You Need:
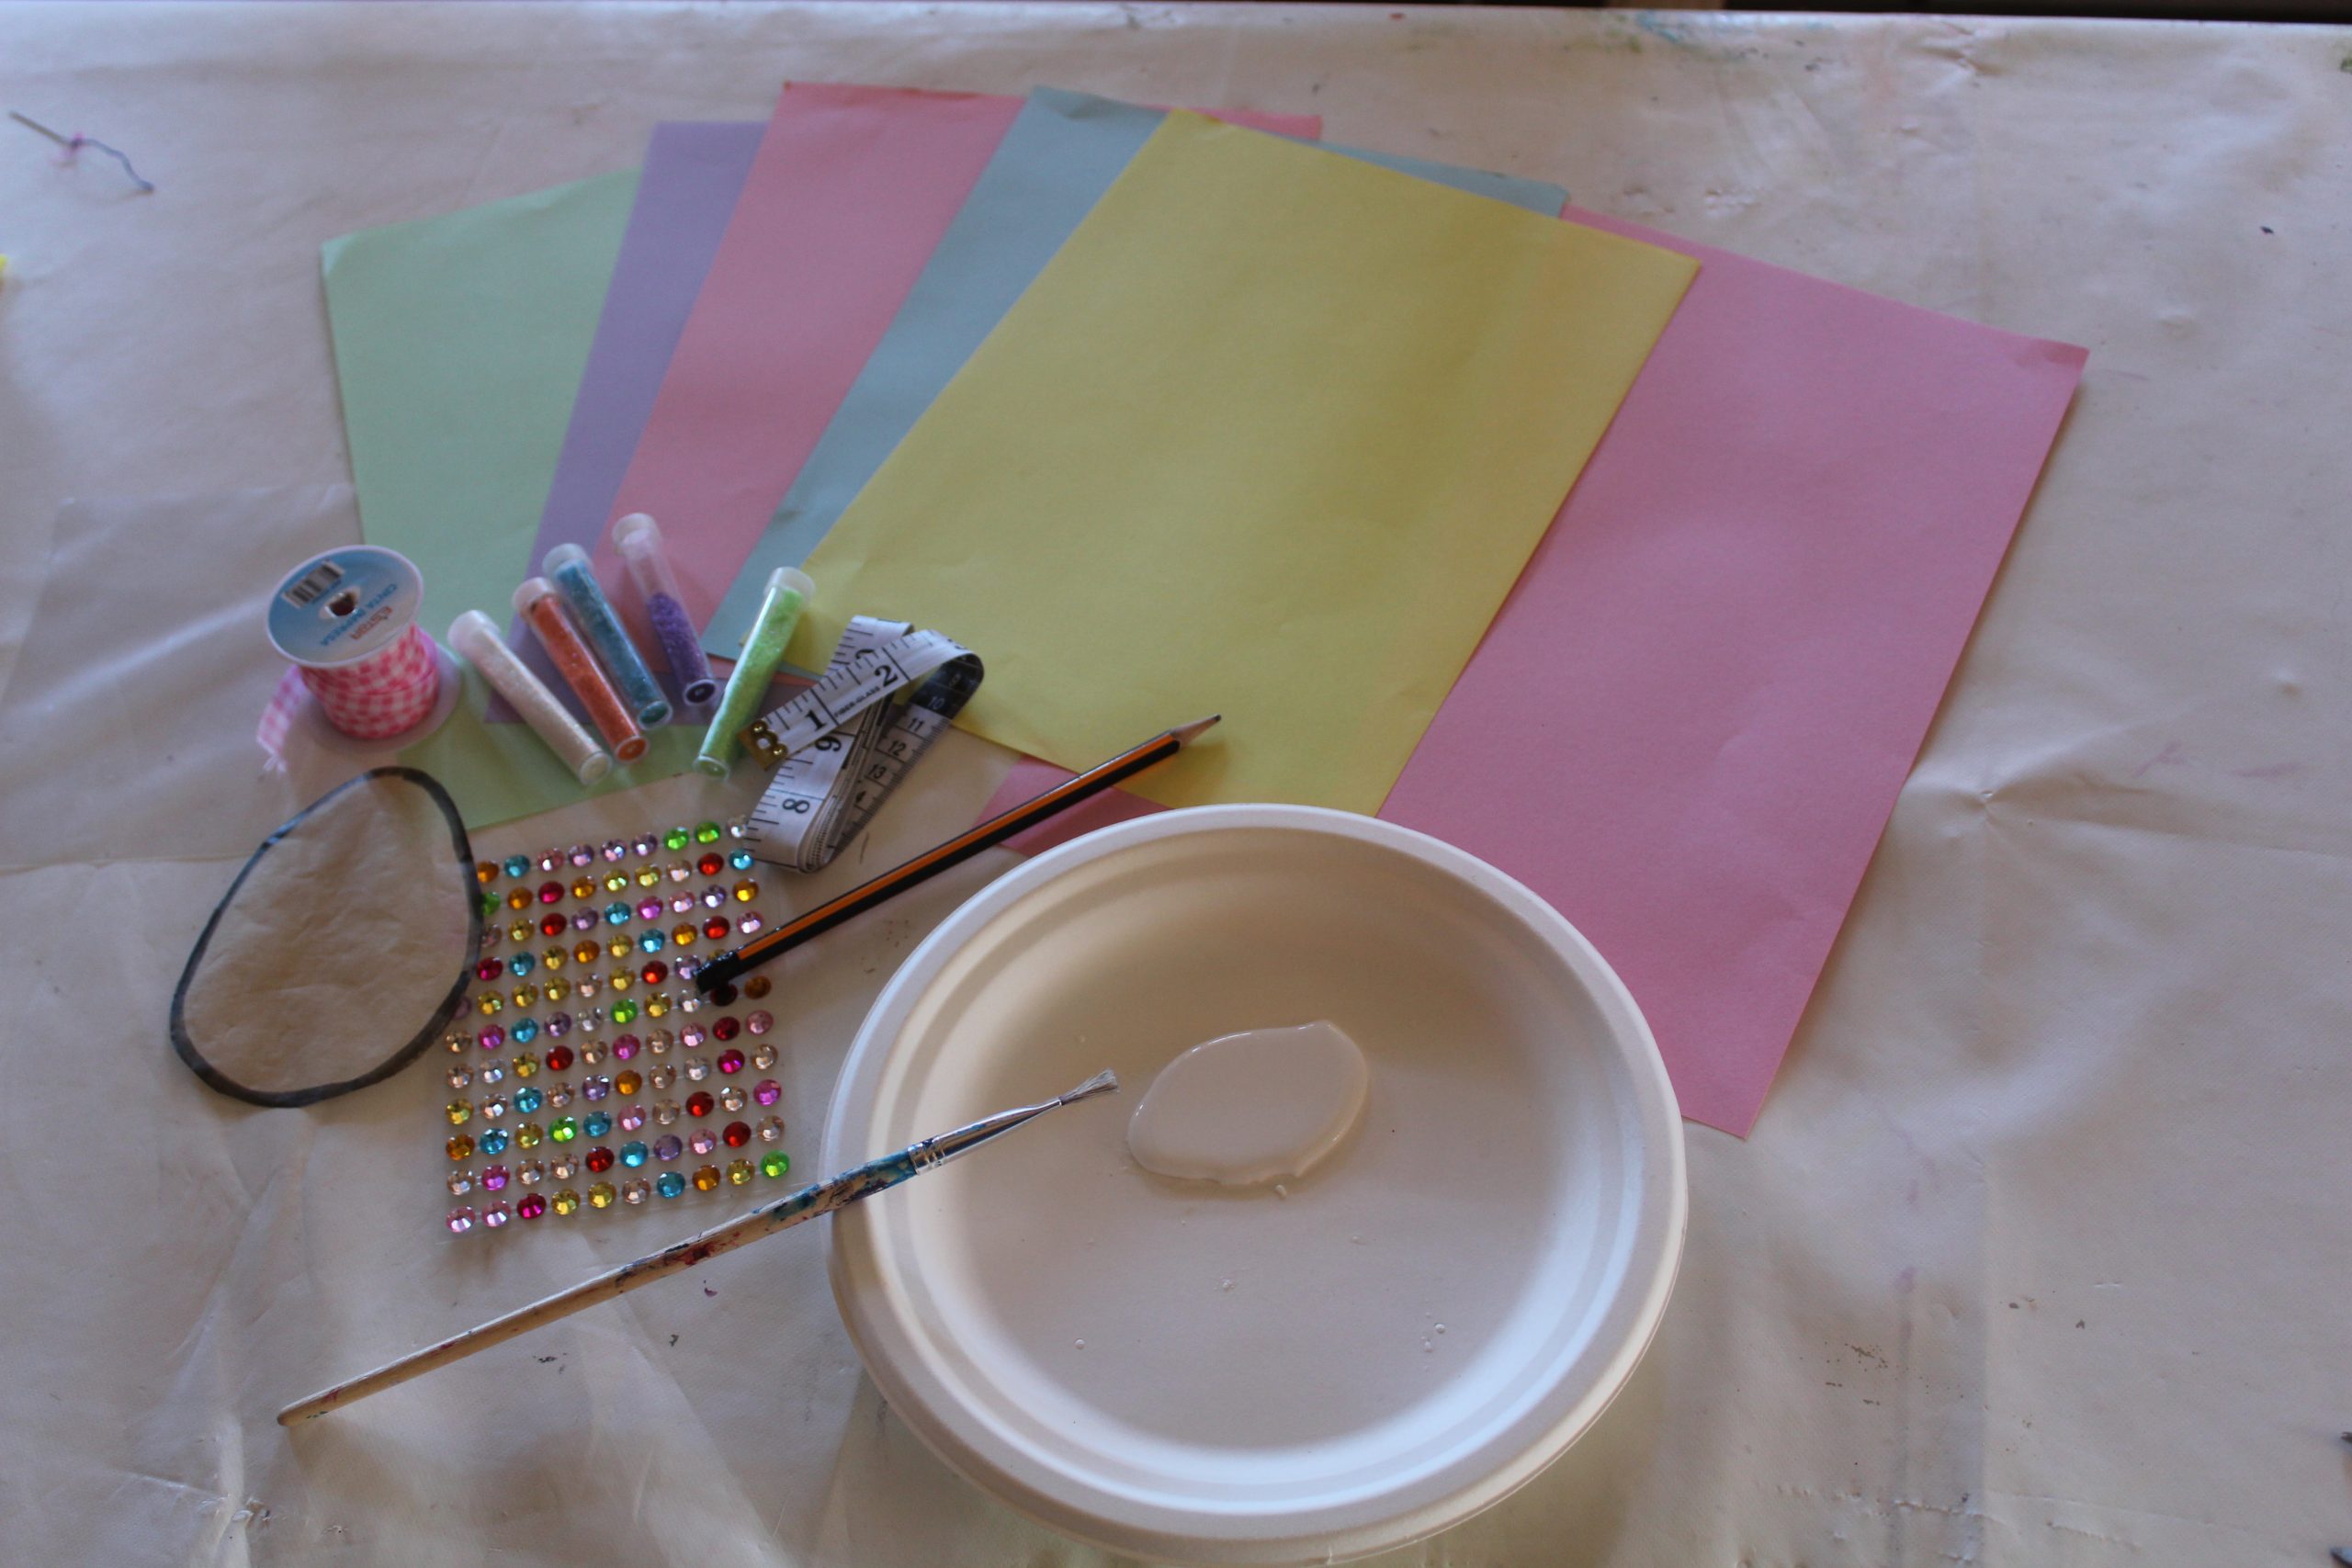
Get together the following items to make sure you can get started on your project:
- A mixture of poster pants – the brighter the color the better
- An egg shape cut out on a thin piece of card (we used an old cereal box)
- Some ribbon
- A pair of scissors
- Sellotape
- Glitter (optional)
- Little fingers for finger painting
- Any type of painting utensil you want to use for painting (we used a toothbrush and some old corks)
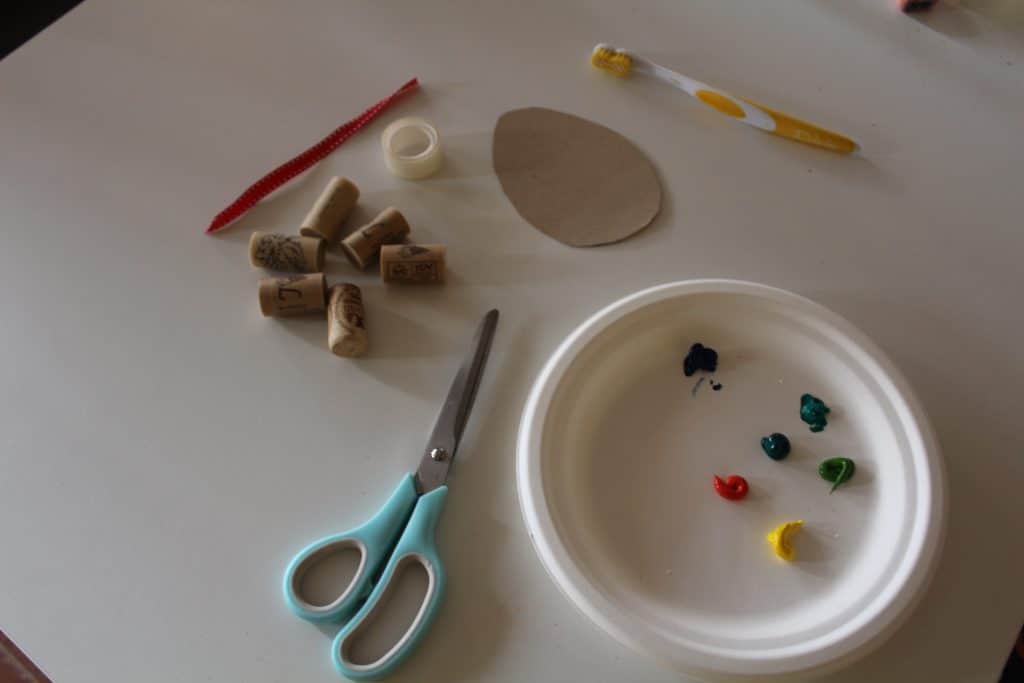
Step 1.
Get all of your materials together and make sure that you put a sheet or cover down, as paint can go everywhere – especially when you are using fingers and other items.
Step 2.
Cut out the egg shape from a piece of thin (cereal box) card, and then get all of your paint and painting accessories together. It is best to put a little bit of each color on a paper plate this way you can contain the mess).
Step 3.
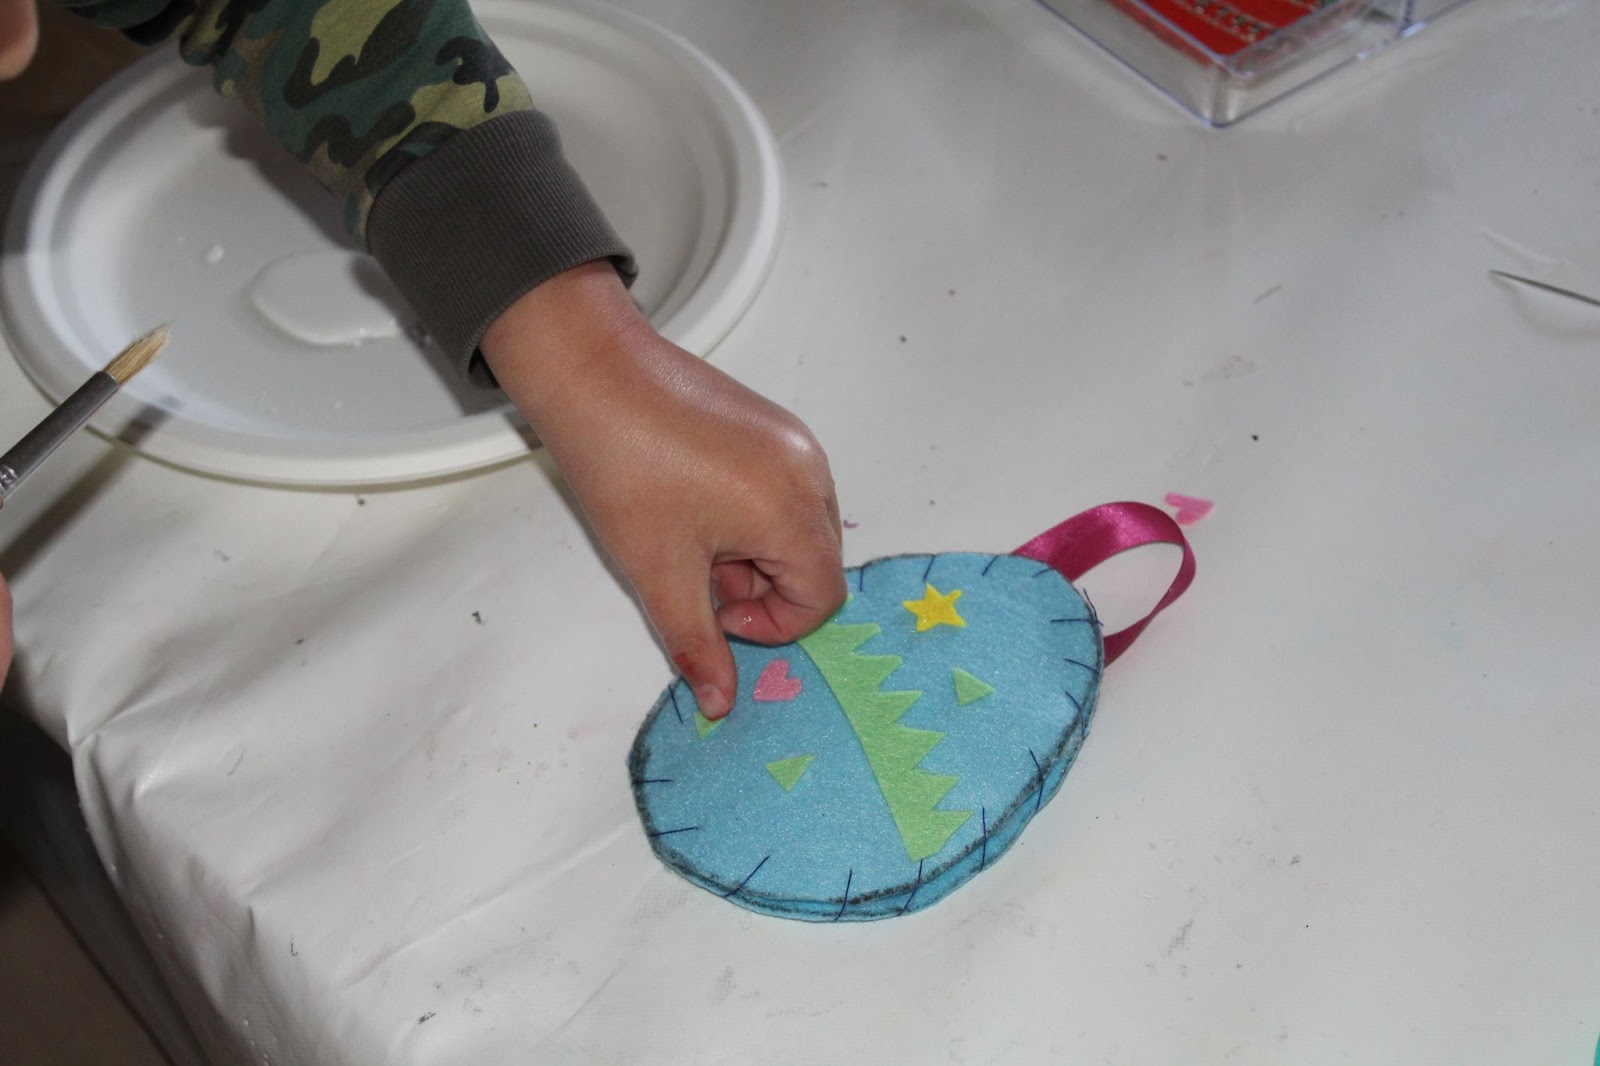
Step back, and try to let your little one take over, and let them use all of the colors how they want. This can be difficult, but the more freedom that they have the better. When we did ours – a toothbrush, old corks, and fingers were used. A little bit of glitter was added to the wet paint.
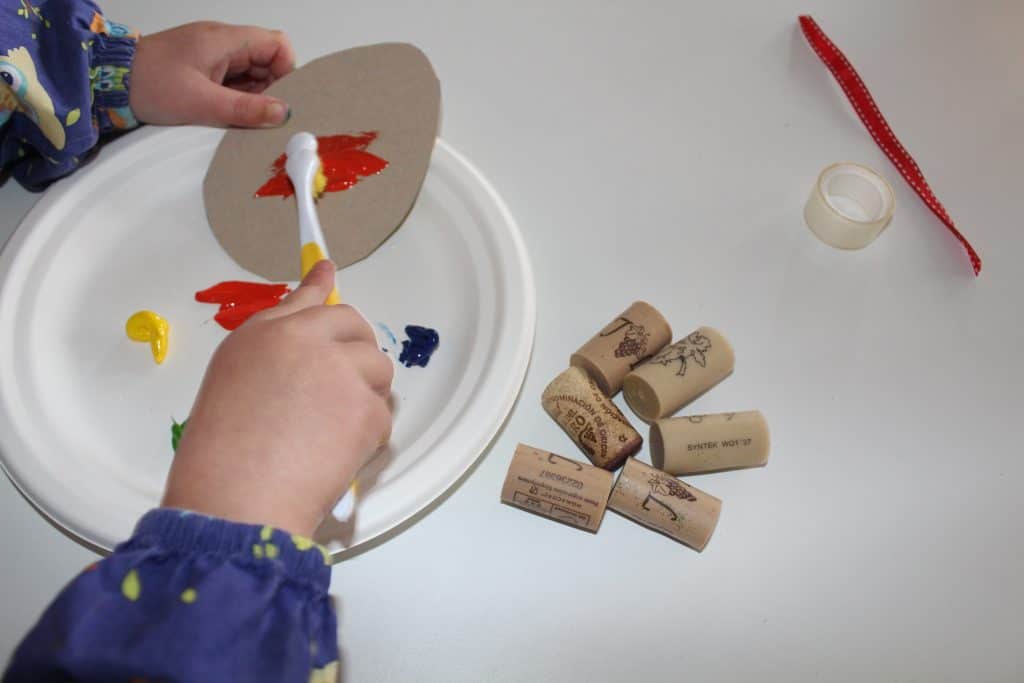
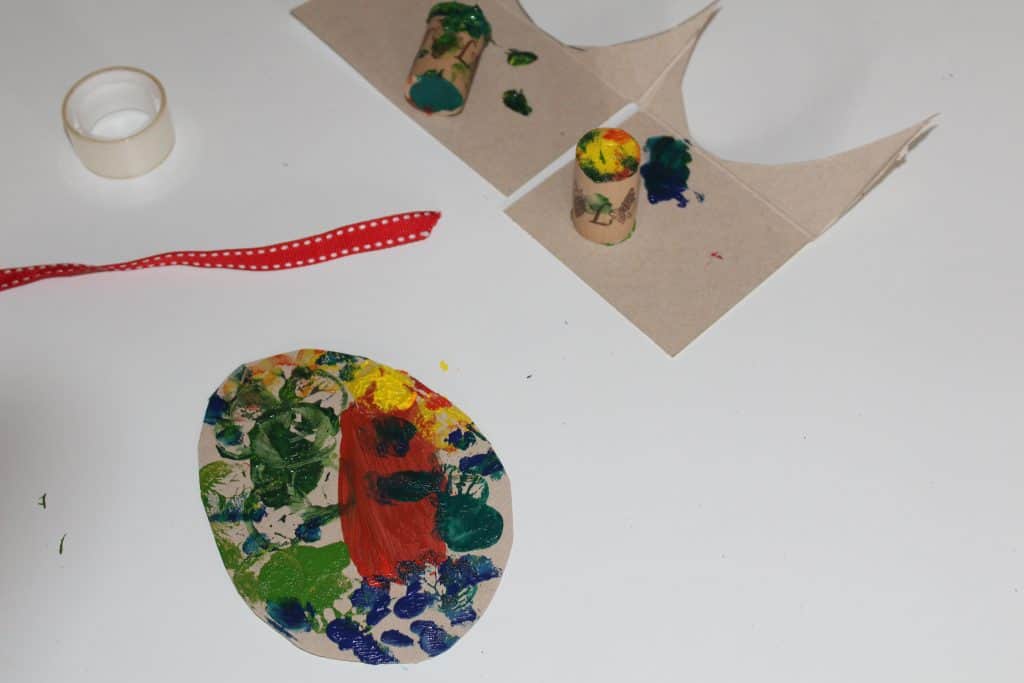
Step 4.
Let the easter egg dry, and then attach a piece of ribbon to the back of your egg. The finished egg can then hang up for all to see. When hung in a bright and airy window all of the colors can be seen, and the glitter (if added) can sparkle too.


