Recycling and reusing what you have around the house, and creating something useful and fun in the process is what it is all about, and this time a monster bird feeder is on the cards. This activity will not take long to complete, and from start to finish will take you around 1 hour (including allowing time for glue and paint to dry).
What You Will Need
- 1 x Milk or Juice Carton
- Scissors
- Yarn or String (to hang)
- PVA Glue or Gluestick
- Paint and Paintbrushes
- Black Marker Pen
- 2 x Popsicle Sticks
- 2 x Bottle Tops
- Pipe Cleaners
- Bird Seed
- Willing Helper/s!
Instructions – 8 Simple Steps
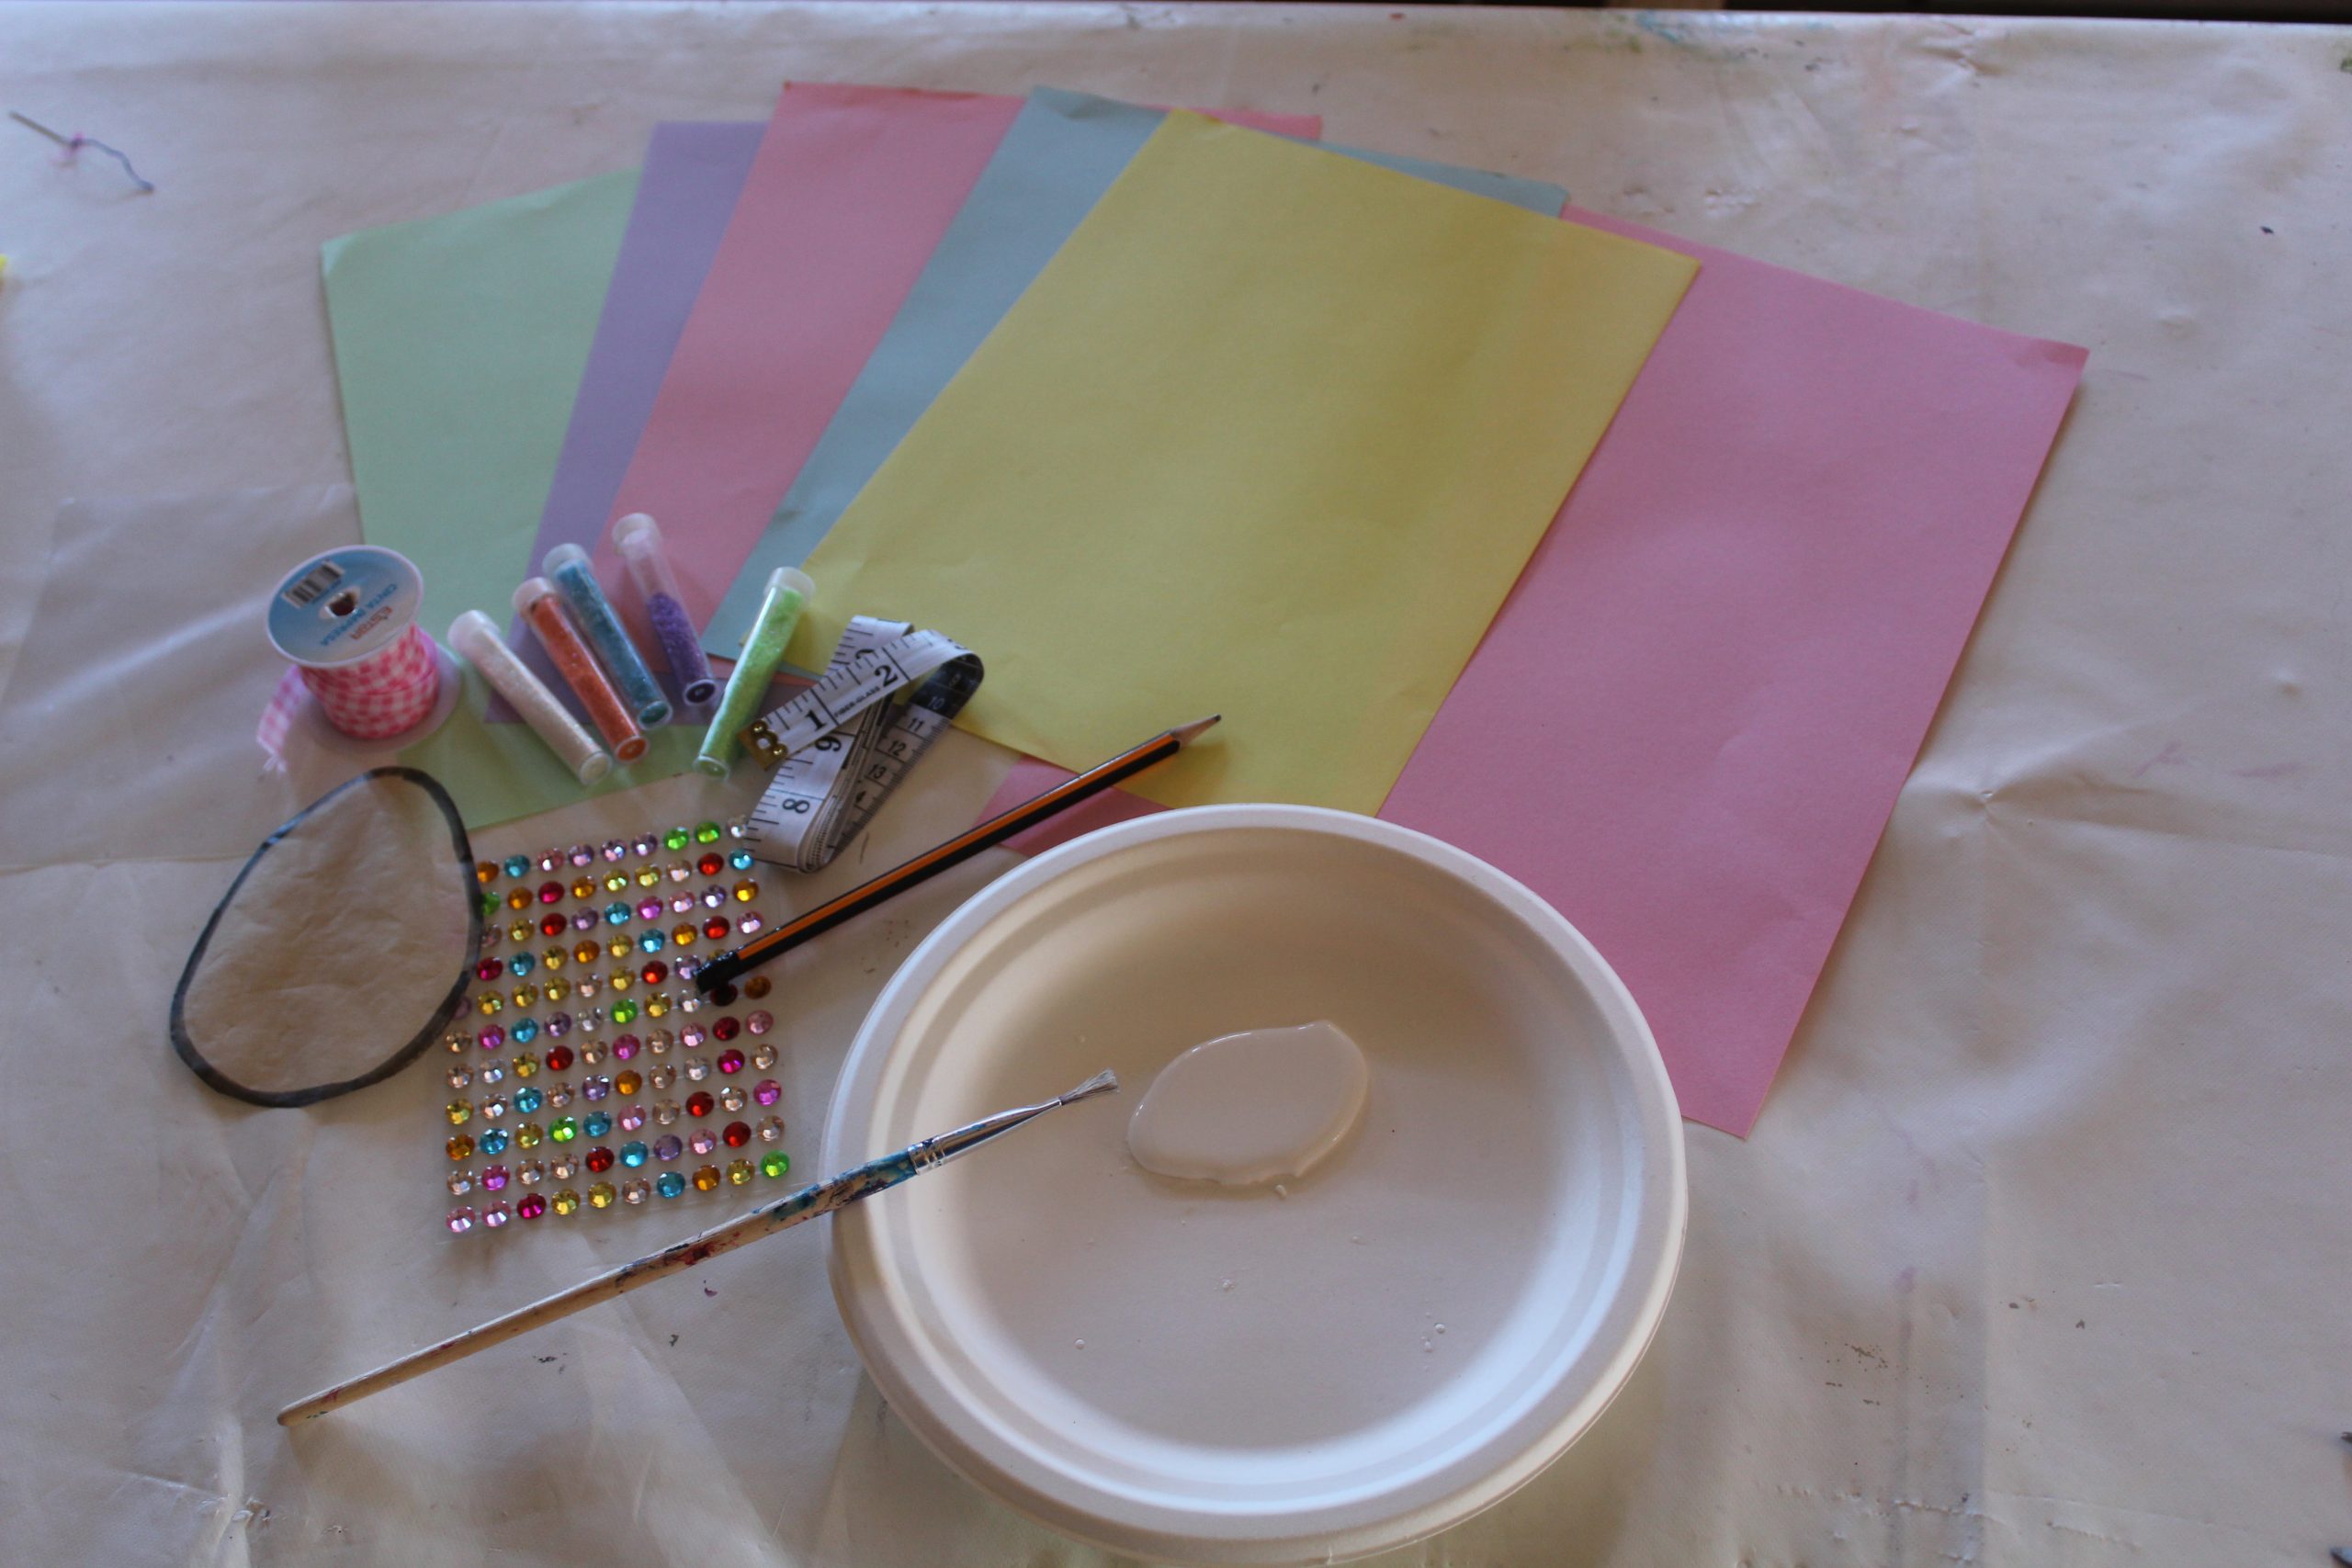
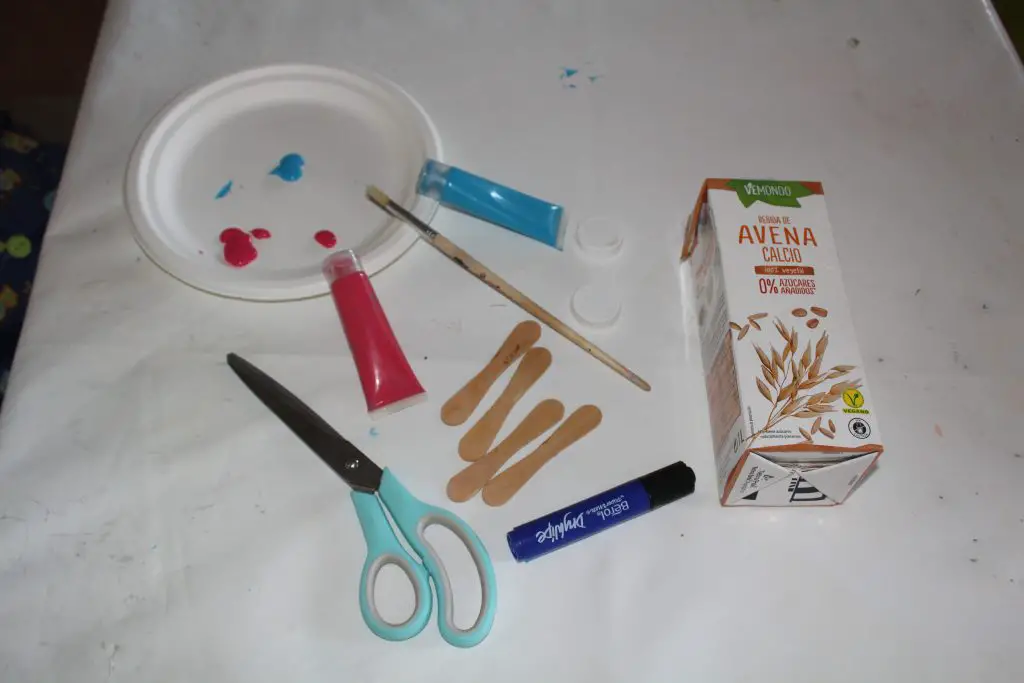
Step 1. Get all of your materials together, as you don’t want to be rushing around with glue stuck between your fingers, and you certainly don’t want to keep children waiting!.
Step 2. Cut out 3 squares in your carton. 1 square on either side and 1 at the front. The square doesn’t have to be perfect, but they have to be large enough for a small bird to get into (to access the food). The square at the front will end up looking like a mouth, and the squares on either side will be where birds can perch and grab their snack.
Step 3. Remove the bottle cap and remove the whole of the lid as this is not needed – and it makes the feeder look a lot neater. We also did this to make sure that the monster had some space for hair.
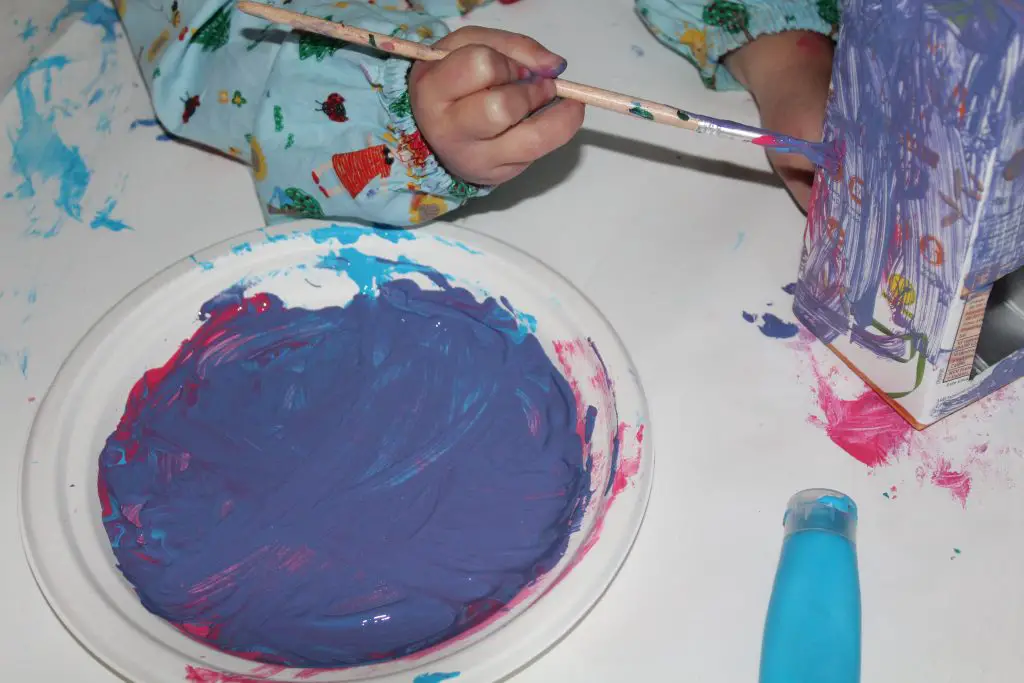
Step 4. Choose a color (or mix your own) to paint your monster with and get painting. Using poster paint is best for this project as it is thick, easy to use and it dries really quickly too.
Step 5. Prepare the eyes and the perches. While you are waiting for the paint to dry on the carton you can go ahead and make the eyes, and the perches. The perches (popsicle sticks) are ready-made and can be glued on when the paint is dry. We chose to color our perches black with our marker pen to make them look scary! The eyes, which are made out of old bottle tops are colored in with the help of the black marker pen once more.

Step 6. When everything is dry, you can go ahead and start assembling your bird feeder. Secure the eyes using PVA glue or a glue stick, and then add the popsicle sticks. Once this is done, you can then move on to creating your monster’s hair.
Step 7. You can create monster hair by cutting a slit in the top of the carton. Fold over pipe cleaners and then hold in place with glue.
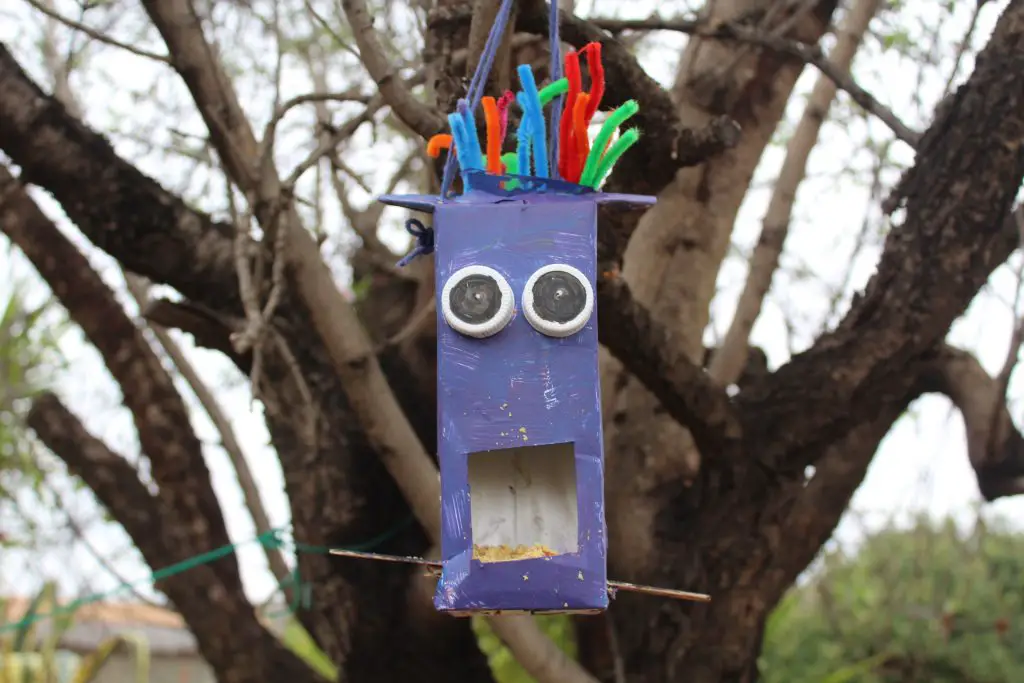
Step 8. Now you have to add some yarn or string to the top of your feeder as this will allow you to hang it on your favorite tree. Once it is in place, you can then go ahead and add your birdseed mix.
Now all of the hard work is done, it is now time to see what birds visit and use your new monster feeder. To add to the fun you and your little ones can keep track of which birds visit your feeder by using a bird watch chart – or by even making your own.