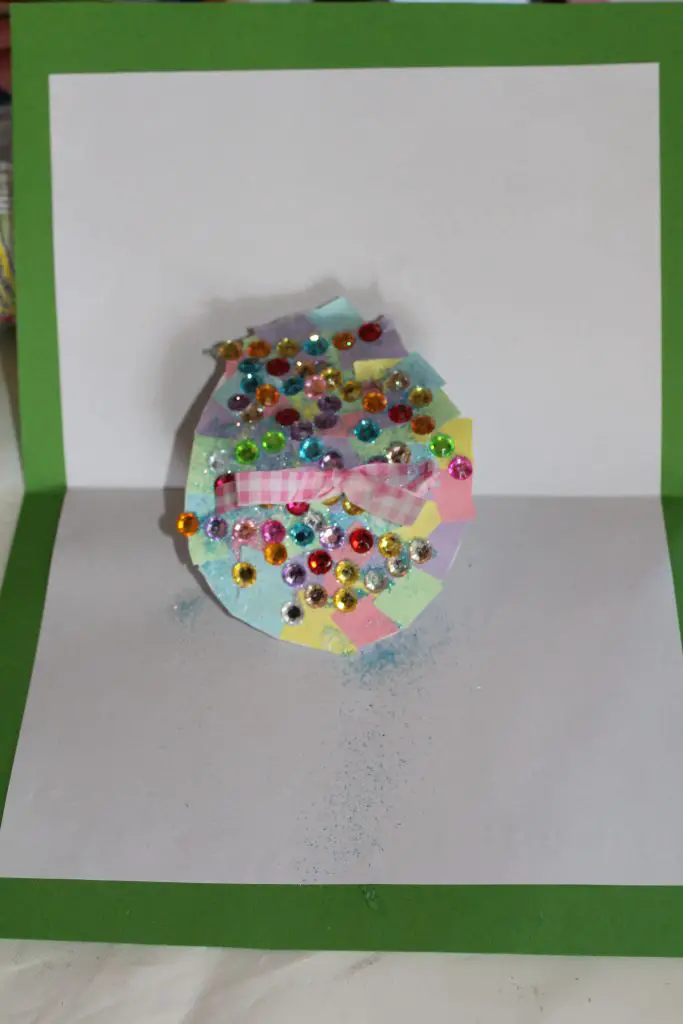
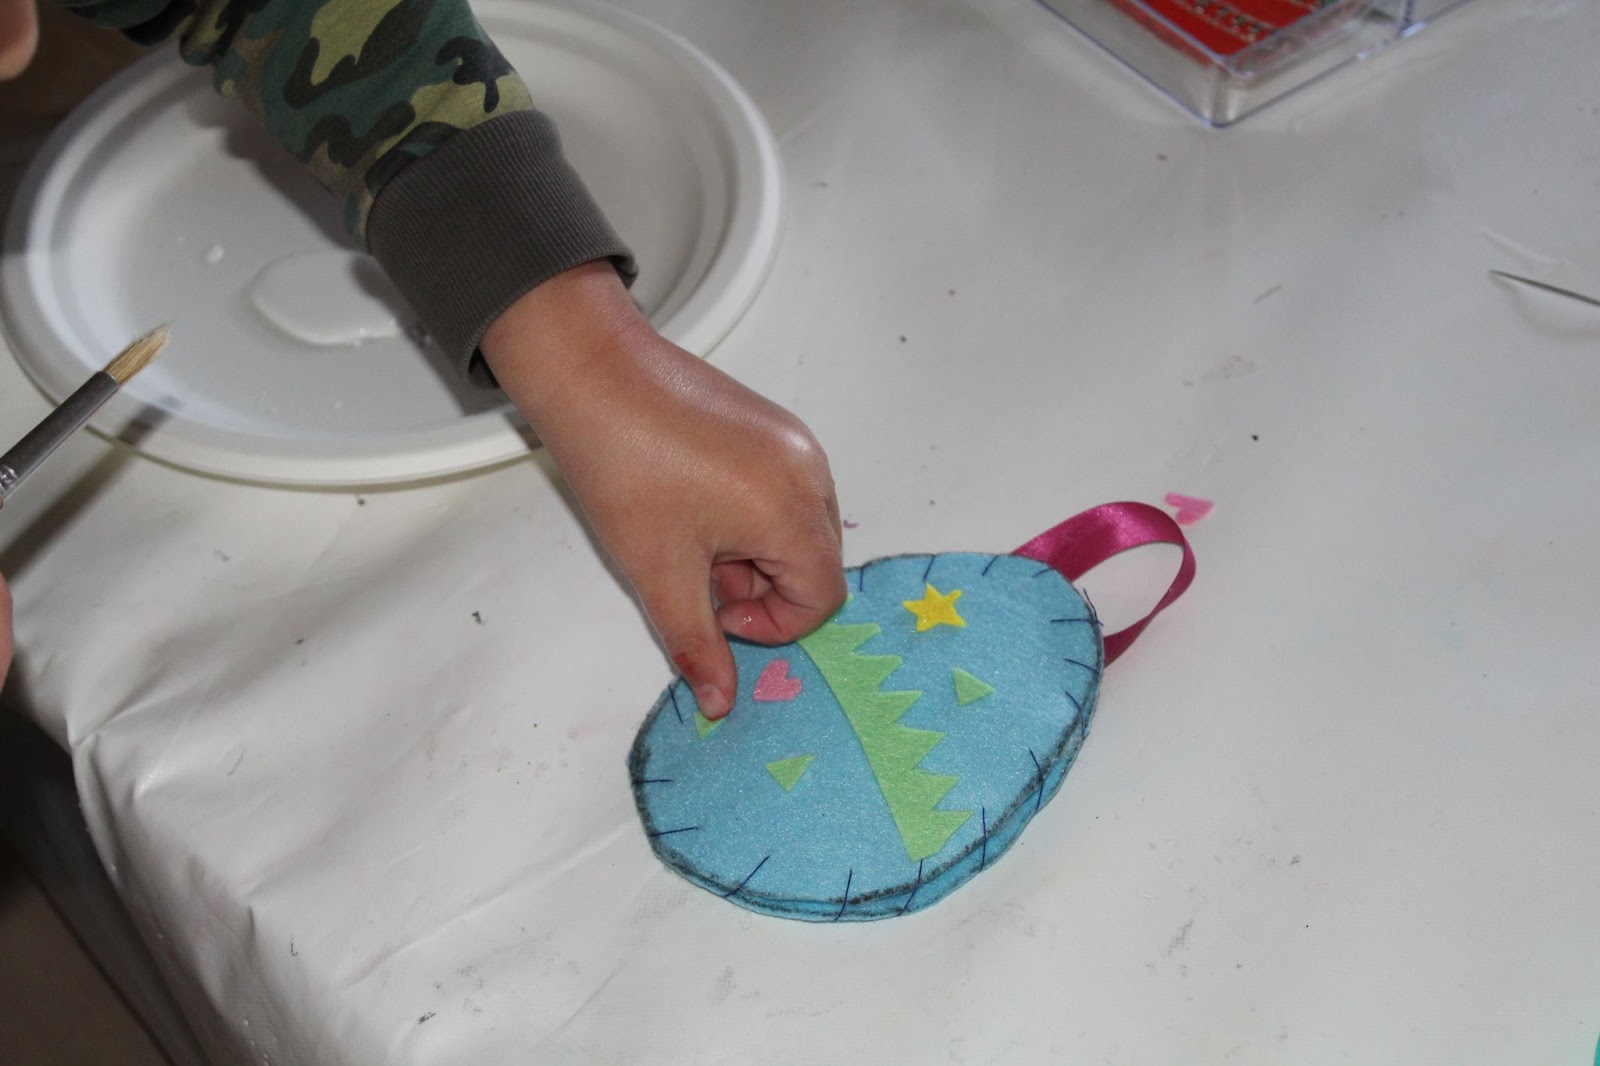
Making easter cards is something that is easy and fun to do, and it is something that the whole family can do together. These simple and quick pop up cards can be then cherished for many years to come. The step by step instructions will show you how you can create your own mosaic easter card.
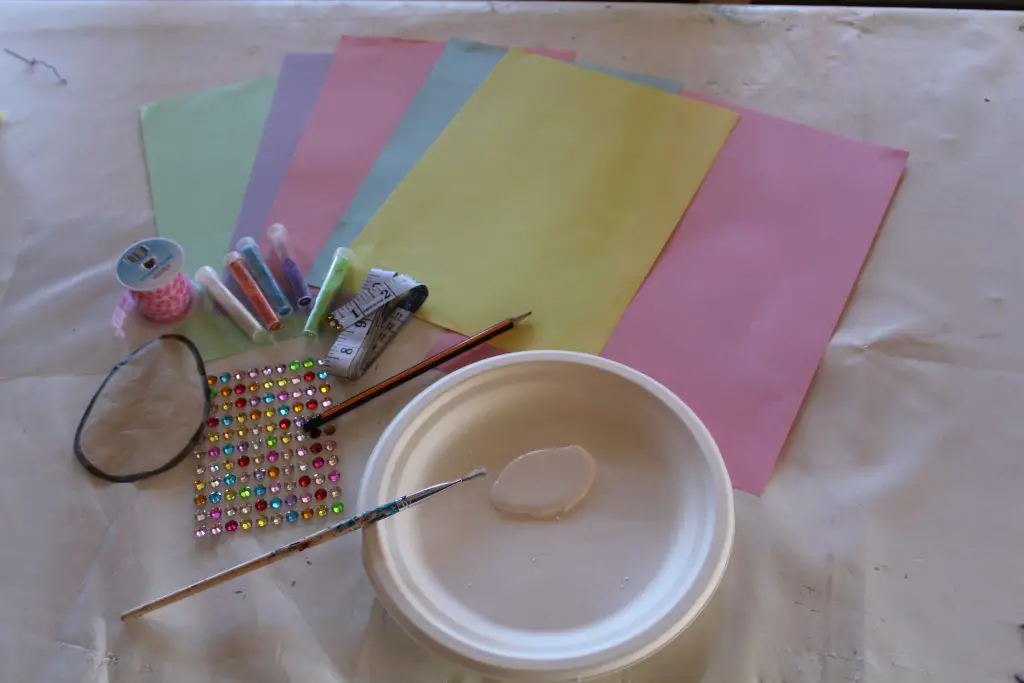
Tools and Supplies You Will Need:
Colored paper for mosaic pieces (ideally A3 Size)
Colored card for back of card (or base – ideally A4 size)
Thin white card for middle of your card
Pencil
Scissors
1 x FREE Egg template (find below)
PVA glue or glue stick
Ruler or measuring tape
1 x piece of ribbon (optional)
Instructions – 7 Simple Steps
Step 1. – Get all of your supplies together, including the base card (we made 2 cards so used green and pink) and don’t forget your middle piece of thin white card. Measure the card, and then fold it over. Then cut out a rectangle in the middle as shown below. As you can see these were the center measurements for our card – I then went 1.5cm on either side of the centerline to give a nice base.
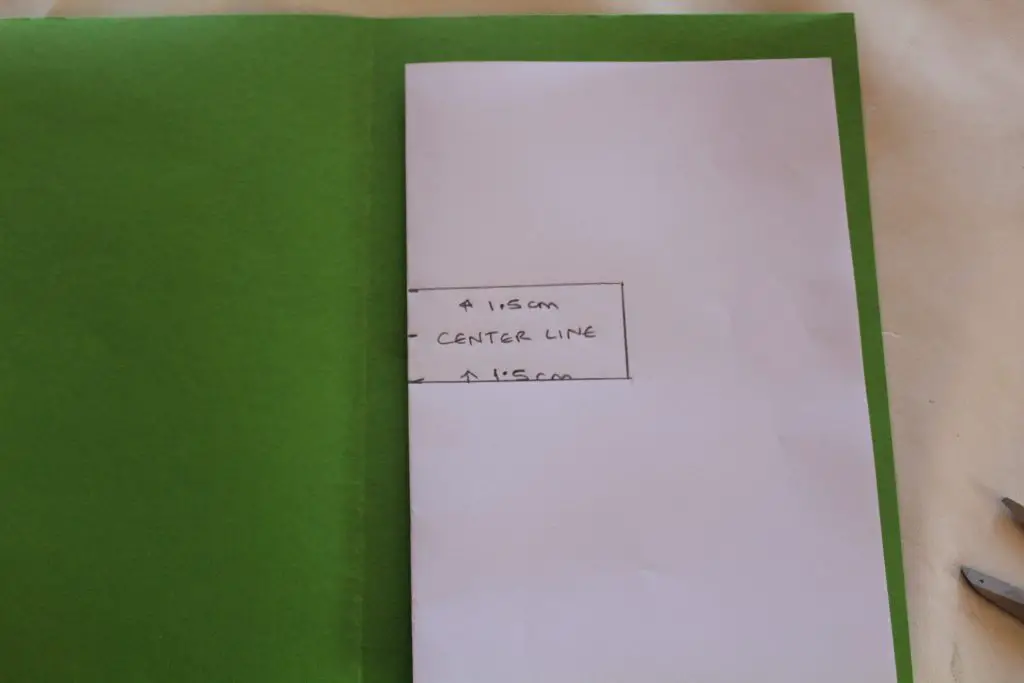
Step 2. – Cut out the rectangle from the middle of your card, and then stick it onto your card, then you need to cut out the egg shape, there is a template below.
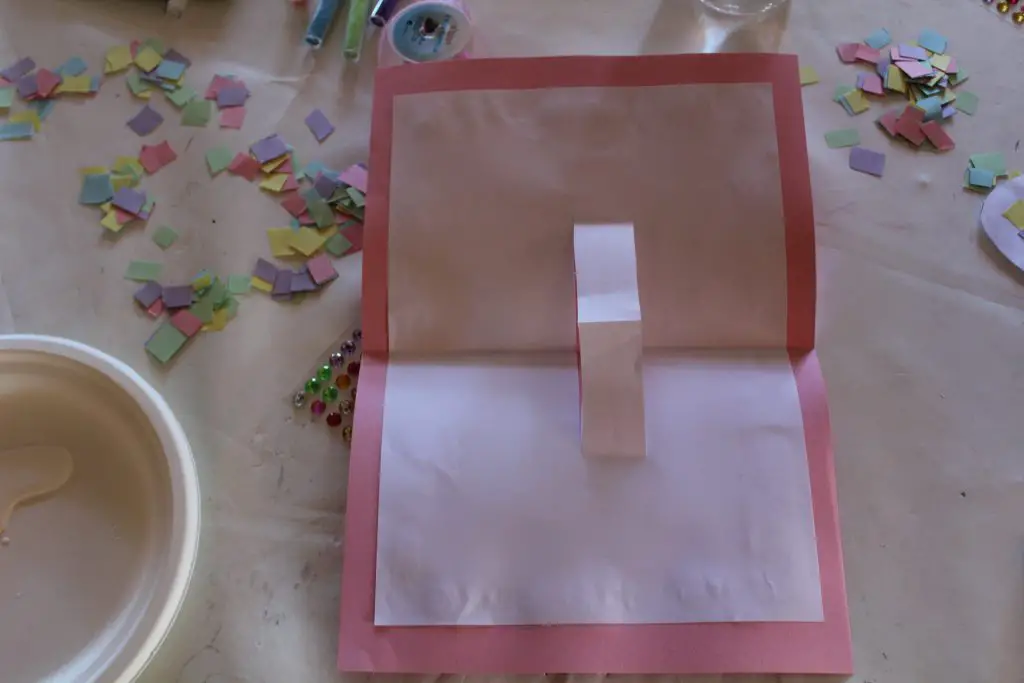
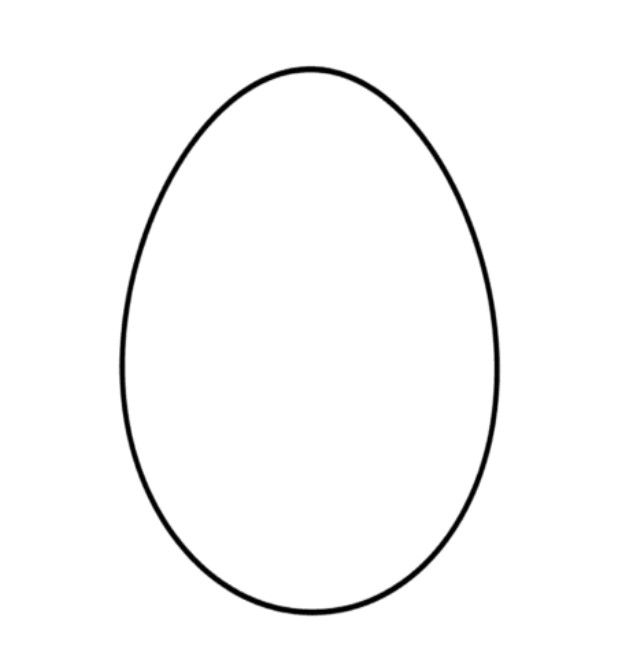
Step 3. Cut the colored pieces of paper into small mosaic pieces (these don’t have to be perfect squares).
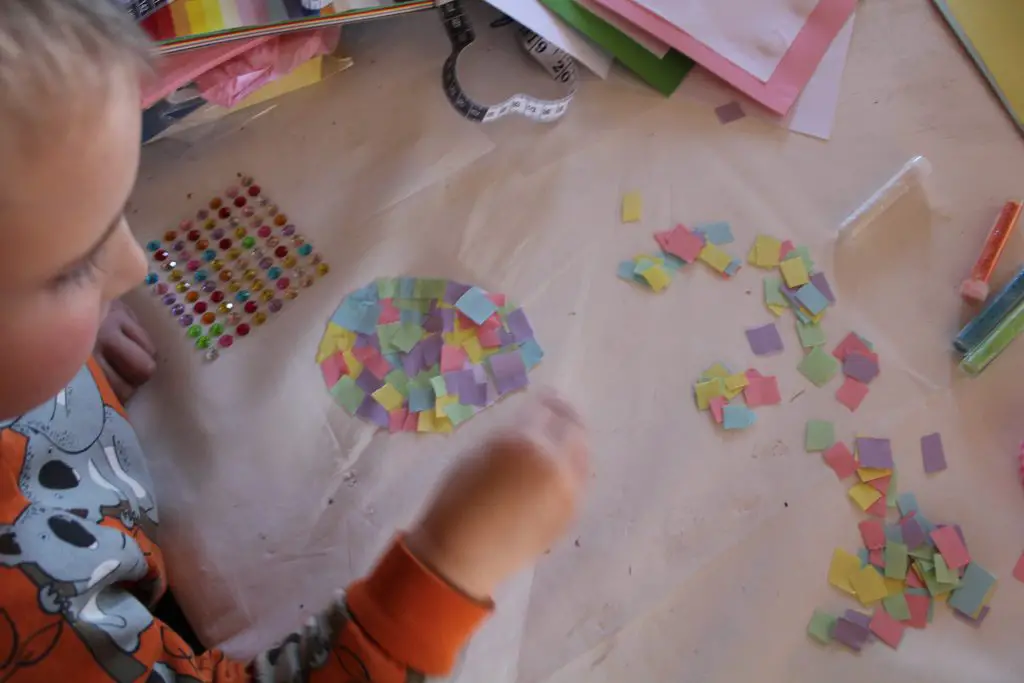
Step 4. Decorate the egg with mosaic paper, a glue stick or PVA, and glitter/gems (if you wish).
Step 5. Let the egg dry and tidy up your working area. Prepare a bow with your ribbon (if you are adding one) as this can be added to the front of the egg.
Step 6. Stick the completed egg to the piece of cut card and then decorate the inside and outside of the card with any easter message or wishes that you want. Or, as I did, write the message and then let the little ones trace over it!
Step 7. You are all done. Now all that is left to do is send it and spread some happiness and joy at Easter.
