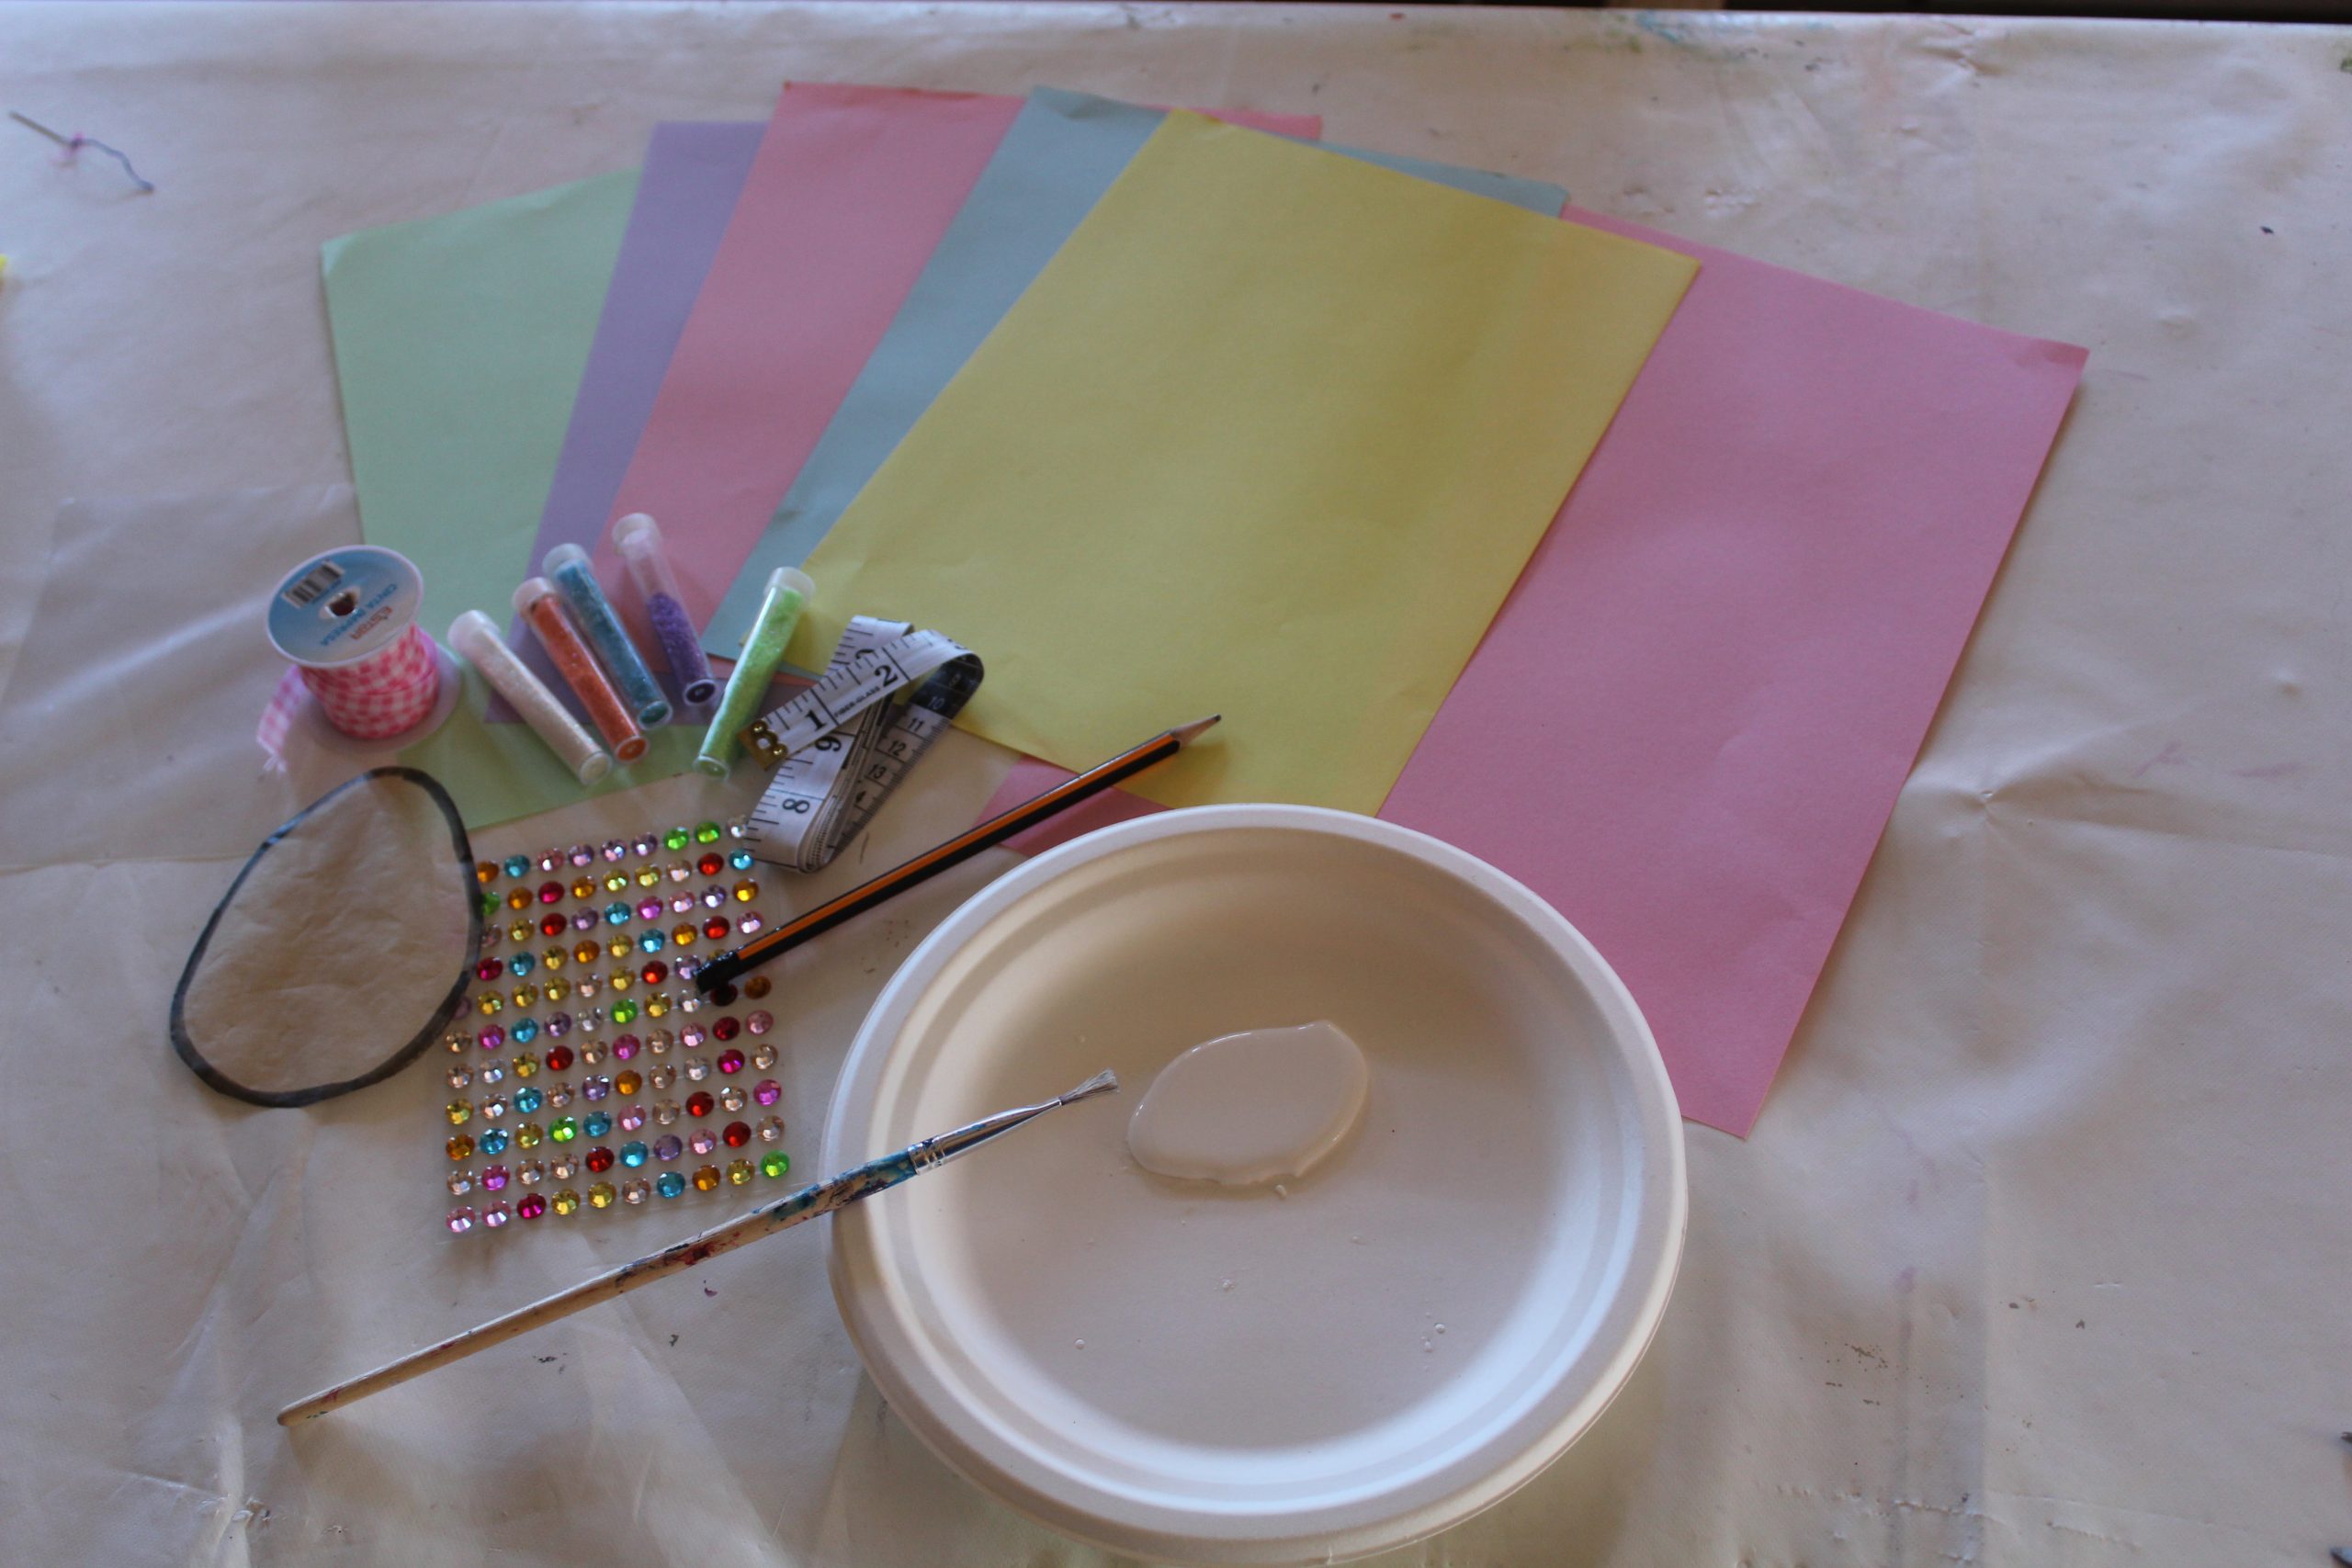
Making Fun and Colorful Felt Decorations
Easter is always an exciting time for my children, and each year they love to create new pieces, and add something different – hoping that the Easter Bunny will notice the extra effort! As this is their first sewing project it is important to keep it simple, easy and fun.
List of Supplies for the egg decoration
Before getting started it is important to get everything you need together in one place, or else tantrums, and boredom can quickly creep in.
- 2 pieces of small felt
- Multicolor felt for the decorative touches
- Template of an egg
- Ribbon
- Glue (we used both a glue stick and PVA)
- Scissors
- Needle
- Studding
- Pins (for holding felt in place)
- Thread
Getting Started
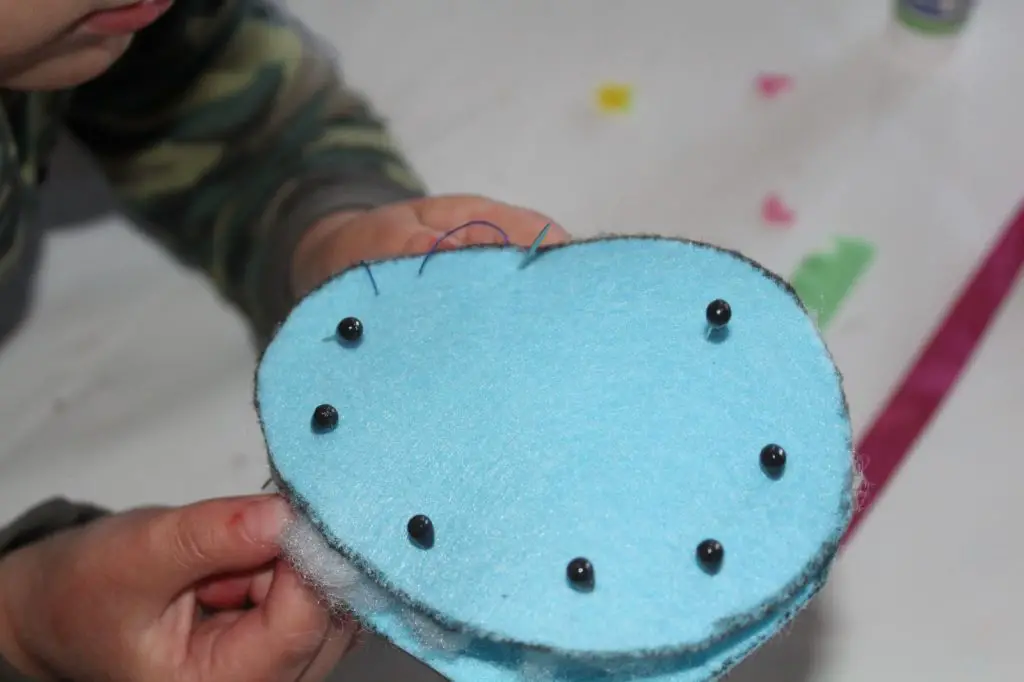
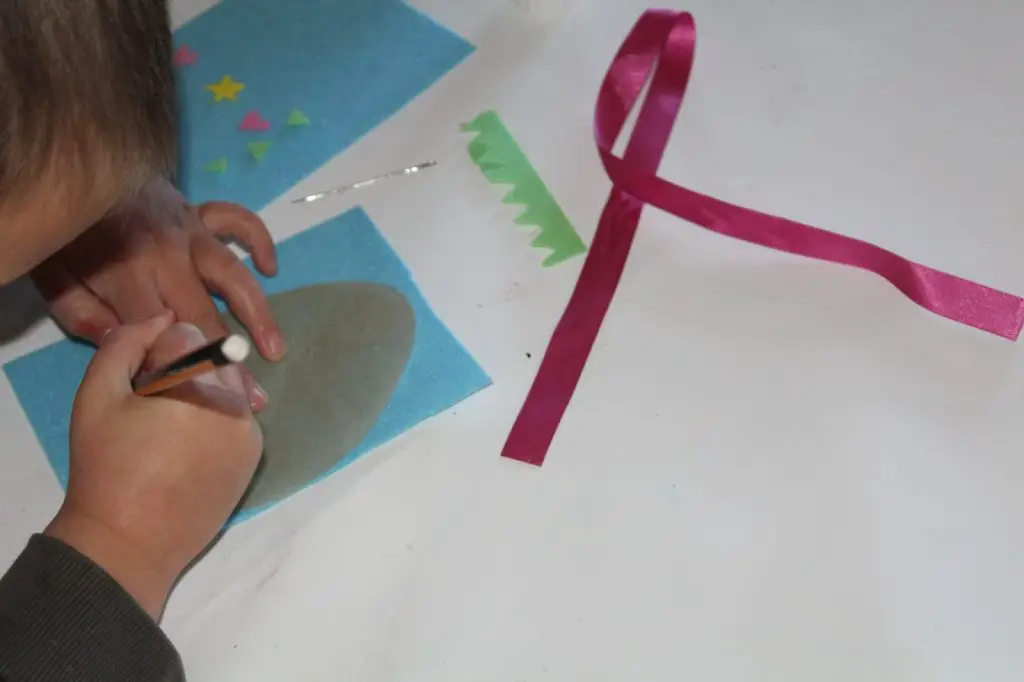
Firstly we had to draw the eggs onto the 2 pieces of blue felt. This was done using a template. Next, the shapes were cut out and laid on top of each other. The two egg-shaped pieces of felt were then pinned together and a small amount of stuffing was added – though this was my children’s personal choice and not necessary at this stage. Stitches can be sewn first (an opening can be left) and then stuffing can be added later.
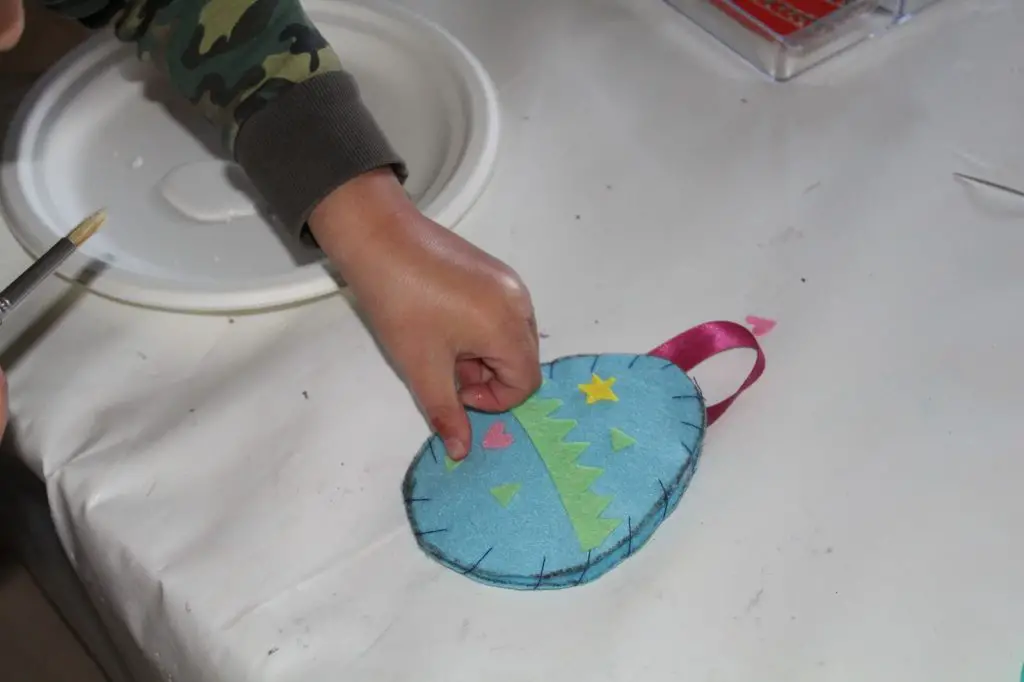
Eggciting Fun
After the pieces were held together with pins, it was then time to do the first stitch. A needle and dark blue thread were prepared, and the first stitch was put into place. Just a basic stitch is used in this project as it is nice, easy and stress-free. As stitches were added, the pins were removed.
Decorating Time
As the last stitch was sewn, it was then time to make it look pretty. The decorations were added (these were some ready cut felt shapes and oddments that we had leftover from a previous craft project). A piece of short ribbon was then sewn securely onto the back of the decoration, which would allow it to be hung anywhere.
