Fall is the perfect time to break out the hot glue gun, craft paint, and all the construction paper to make fun art pieces and incorporate crafting into educational time. But sometimes, when inspiration is lacking, it’s helpful to see some example fall craft ideas.
That’s why we’ve searched high and low for the best diy fall crafts for you. So let us do the searching while you get the hot glue gun ready. We’ll have you crafting away, lickety-split.
First off let’s not forget that one of the most fun fall craft ideas is making a halloween costume!
Now onto some other ideas…
Papercrafts
Ghost handprints
Want to remember the size of those little hands? Turn them into spooky ghosts! Trace and cut out your child’s handprint. Then, glue it into a paper plate that’s already been decorated with a creepy scene. Use markers to draw ghost faces on every finger and BOO! You have a handful of scary ghouls to hang on the fridge.
Sunflower chain
As warm days subside and harvest approaches, you can still squeeze in a sunflower craft. This one is perfect to incorporate into a math homeschool activity as your child can choose to measure their height and aim to make their sunflower the same, or they can also estimate how many paper links will equal their height. This is an easy fall craft idea. You’ll only need construction paper, glue sticks, and scissors.
Paper apples
If your kids like making chains from paper, try out this twist on the simple maneuver. Instead of linking them, take the strips (about 6), lay them flat, and fasten them together on one end with a brad. Then, separate and curl them into a sphere shape, fastening them on the other end. Complete the apple with a cardboard leaf for the perfect harvest.
Handprint acorn lacing
Need another craft idea that doubles as a developmental activity? Go back to the handprint cutouts. There’s a reason teachers have used these for decades. They’re an easy craft! Trace and cut out your child’s handprint from tan paper. Top it off with an acorn cap-shaped piece of brown paper.
Then punch holes in both pieces once glued and tried. You can then use twine to thread through the holes. It will look nice, yes, but you’re also completing a valuable motor skills activity.
Paper bag scarecrows
If you want a craft that’s a little more harvest-themed than the spooky season, grab some small paper bags. Your little ones can use construction paper to make facial features and “straw” hair for their scarecrows. Then use a marker to make a happy smile. Once you’re finished, they can slip the bag over their hand and they’ll have a super cute puppet!
Leaf crafts
Leaf printing on rocks
On your next nature walk, pick up some leaves in different shapes and sizes, along with some decent-sized rocks with smooth surfaces (or as smooth as you can find). When you get home, paint the rocks. Then, in another color, use your leaf to stamp paint onto the rock. The lines and texture of the leaf should be transferred, giving you a neat way to study the leaf.
Leaf animals
Fall is a kaleidoscope of shapes and colors. Use the variety of leaves to your advantage by arranging them like makeshift tangrams into animal shapes. Add more detail with sticks for antlers and sharpie dots for eyes. You can either leave them loose or glue them down to construction paper as well.
Leaf candle holder/jar
Have an older child that would like a fun craft that makes something a little more substantial? Grab some leaves, an empty mason jar, some Mod Podge, and a brush. Swipe the Mod Podge liquid onto the mason jar and leaf, then press them around the jar until they’re smooth. Once try, your candle holder will glow with warm, autumn colors.
Handprint tree
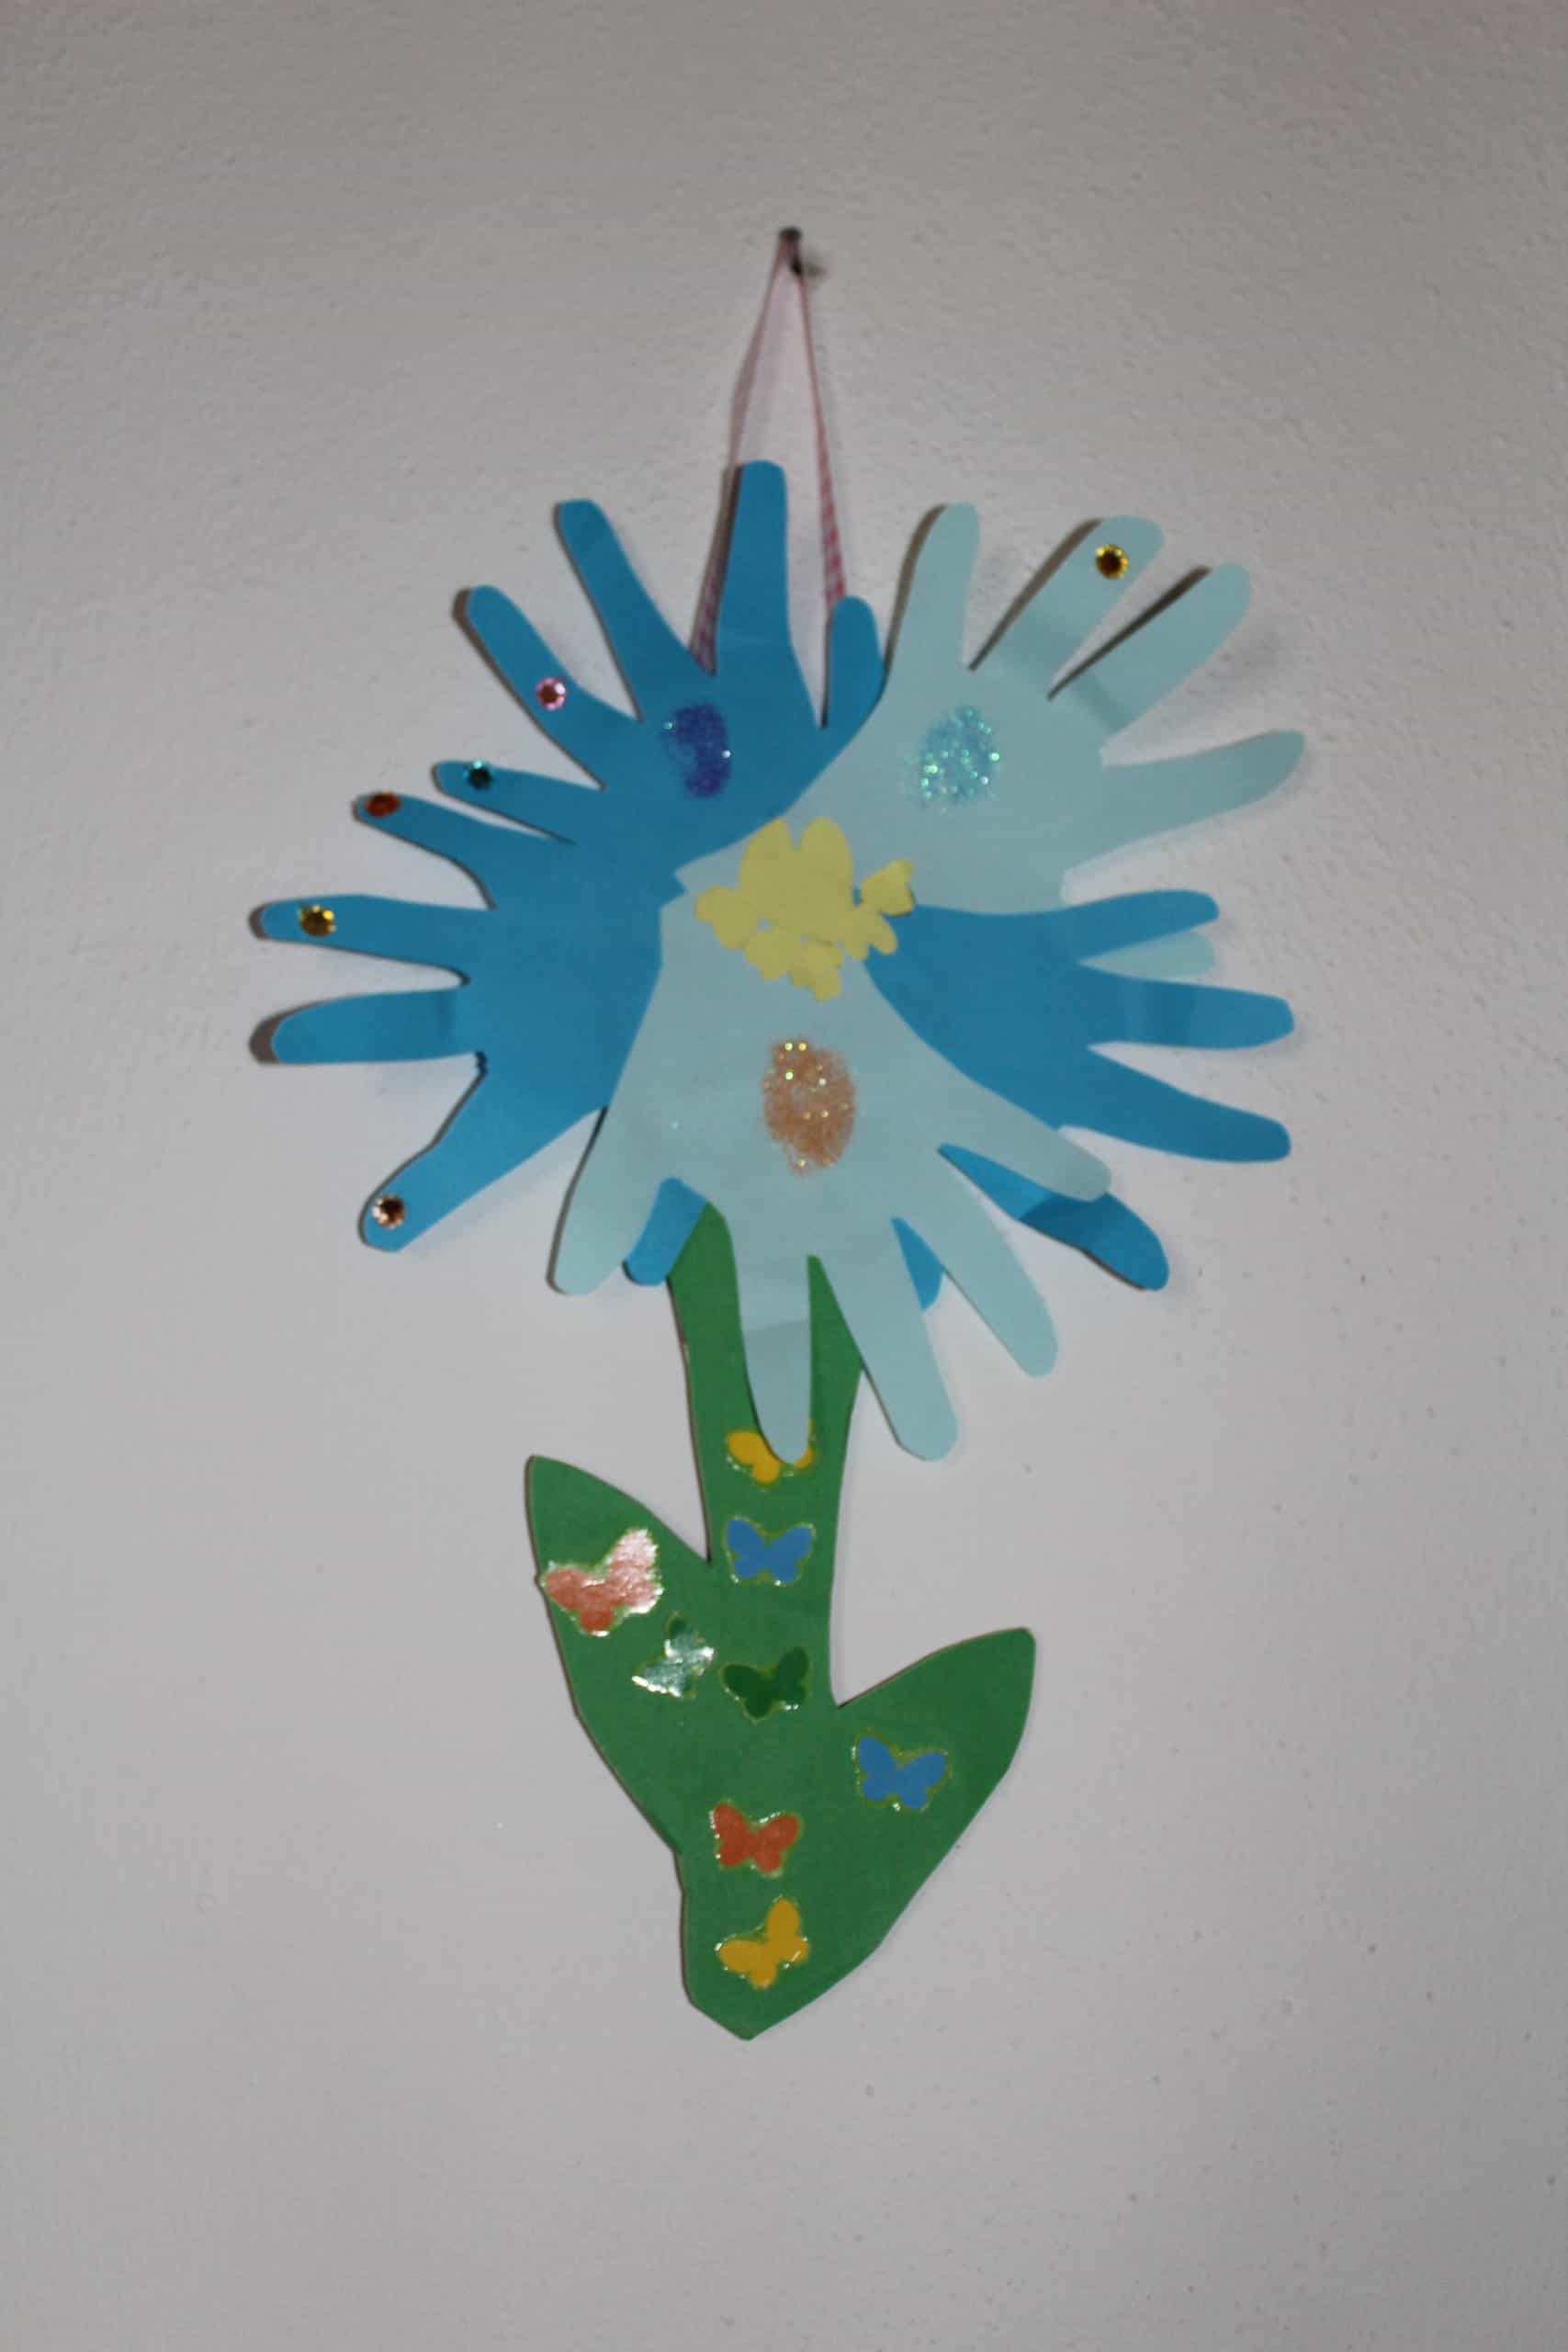
Take another opportunity to document the size of your child’s hand by tracing and cutting out the shape up to their forearm. Use brown construction paper so it looks like a tree trunk. Then take some fall leaves you collected on a nature walk or whatever you can find in your backyard to glue onto the fingers, or tree “branches.”
Fall leaf crowns
Is your little one the ruler of the forest? Let’s make them feel that way! Measure your kiddo’s head. Then, grab your trusty construction paper and cut a strip to size. Either glue or staple the strip tiger together to make a circle. Next, fasten leaves around it using a stapler until the ring is completely covered. Your guy or gal will be fit for any royal woodland gathering!
Paint crafts
Acorn art
Want to turn a nature study into craft time? If you live near oak trees, go out and collect a handful when they start to fall. Then, paint them however you want while teaching your child about how acorns turn into trees. You can also paint little faces onto them and create characters. For an added step, run string through the tops to create a colorful acorn garland!
Apple stamping
Apples are the perfect harvest fruit and they’re a huge part of autumn. There’s apple cider, candy apples, cooked apples, apple pie . . . You get the picture. So why not take some apples and turn them into a fun art project? First, grab some apples. Then, cut them in half to reveal the core and seeds. Dip the inside of the apple into some paint and use them as a stamper to create perfect-shaped apple art.
Painted pumpkins
Who doesn’t love the staple fall decor that is pumpkins? Not us! And we don’t just want plain old Jack O lanterns either. So grab some smaller pumpkins (small enough for little hands to handle), some paint, q-tips, and brushes so you can decorate your pumpkins for the most spectacular porch display. This activity is also a great bonus for fine motor skills practice.
Life-size scarecrow
This one takes some teamwork. Have your child lie down on a long sheet of craft paper. Either you or one of their friends will need to trace the outline of their body onto the paper. Once completed, have your child draw the features of their life-size scarecrow and paint the details.
Sunflower plate
For a colorful display and easy painting, grab a paper plate. Have your child paint the entire plate yellow, then either dot the middle with black paint or glue down actual sunflower seeds. You can make the stem and leaves from green construction paper. Then, display your garden of sunflowers and enjoy!


