Summer, it’s birthday time in our house. Well for myself, my son and lots of close family and friends at least. We have a lot of Cancerians!
This year due to the impact of social distancing we’d noticed children hadn’t really celebrated their birthdays with any kind of party.
Understandable…. I mean the ‘go-to’ kids parties for young children usually involve play centres, attractions, and doing things (like eating) in a big group! Not really acceptable in the current climate.
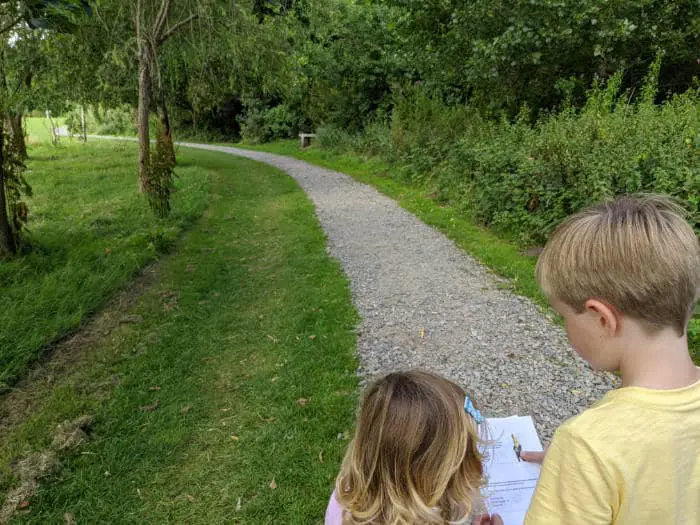
Maybe you’re allowed out of the house to public spaces but not allowed (or don’t think it’s a good idea) to congregate in a big group. How do you get the kids to at least say ‘Hi’ to each other and do something interesting and fun but not break any good behaviour guidelines?
Well… you make and get them to do a puzzle trail! (At least that’s what we picked from our list of ideas this year).
Table of Contents
Why a puzzle trail?
Outside is where you need to be and trails work well outside. Kids can stay with their parents or if they’re old enough could work in a small bubble or groups. Everyone doesn’t have to start a trail at the same time. You can send participants, groups or individuals off at different intervals and at different starting points so they’re not all together at once.
Then there’s the cost. Organized parties can get expensive, but it costs you very little to make a puzzle trail (except for a bit of time in the planning).
The difficulty can be tailored to fit with the ages and abilities of your children and the theme is up to you and not limited by anyone else’s imagination!
An added bonus is that for younger kids and early learners it’s a fun way to get them to do a little bit of exercise, reading and writing without thinking (or complaining) about it!
How our trail worked
We were having a ‘secret agent’ phase, so our trail was secret agent themed and used characters from a popular computer game. We wanted our party guests to discover the name of a secret agent who’d turned traitor.
We also have a pretty large local park with all sorts of nice locations and things in it, like statues, skate ramps, cafes, nature boards to make up the trail.
Each step on our trail either gave you a location name, or a puzzle clue to a location and then asked you a question about the location that allowed you to pick from a list of 3 options and find a letter of the agent’s name… Here’s an example…
Q1) Solve this puzzle (read every second letter) to find the location of the next clue…
C Q A T F U EWhen you get there which of the following is NOT on display?
A = Sweets
E = Ice Cream
O = Muffins
So… the answer is CAFE (so you’d go to the CAFE in our park) and there’d be NO muffins on display. SO you get the letter O.
Get the idea?
If you want to look at our completed trail for more examples I’ve made it available further down the bottom of the article.
Our guests were young (between 5 and 6 years old). In order to make it difficult to get the incorrect letter, we made sure that the incorrect multiple choice answers were hard to mistake for the correct answer.
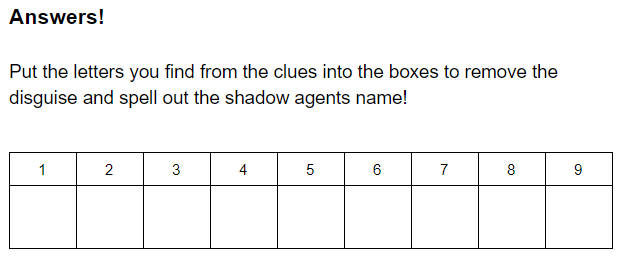
As you found the letters there was a space to write them down in the puzzle booklet we made. Get them all and you had the solution. Then take it back to the hosts for your prize!
Puzzle ideas for young kids
The tricky thing about writing a puzzle trail for young children isn’t so much finding locations or asking questions about them. That’s actually the easy bit (but more ideas on that later on). The tough bit is figuring out what types of clues aren’t too difficult for a 5 or 6 year old to solve!
Here’s a little list of puzzles which work well for younger children who are starting to learn to read.
Read Every Other Letter
Another take on coded writing, but for young children the simplest form or code. Read every other letter, or second letter, or third letter etc to spell out a location. For example ever other letter in the following spells out CAFE.
C Q A T F U E
Find X on the map
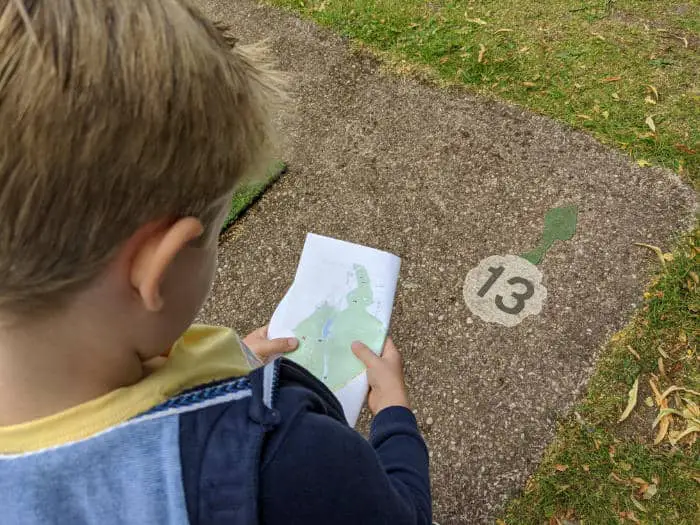
In our trail booklet, we included a map with reference points for each question. This was mainly for the parents. I’ve not had much success getting my boy to read a map yet, but having one of the clues point ‘go to X on the map’ was a good way to get him having a go at understanding it!
Our X on the map pointed to a place in a miniature golf course with a hole number on the floor.
Read Mirror Writing
Another great puzzle for children is simply writing something in MIRROR text. Then you can either get them to try and read it (some children naturally read mirror writing easily) OR you can get them hunting for a mirror, window or other reflective surface to hold it up against to read it.

The quickest and easiest way to generate mirror writing that I found was here: https://www.dcode.fr/mirror-writing.
REBUS – Pictures make words
Rebus puzzles can be really tricky, but you can easily make a child friendly one. A REBUS puzzle is a series of pictures or a single picture that depicts a word.
Here’s our example, we wanted to depict ‘basketball hoops’. Here’s how we did it, most of our kids figured this one out pretty easily.

The answer is basket ball hoops! Our park has a basket ball court where I’d sidewalk chalked a letter on the floor 🙂
Secret Coded Message
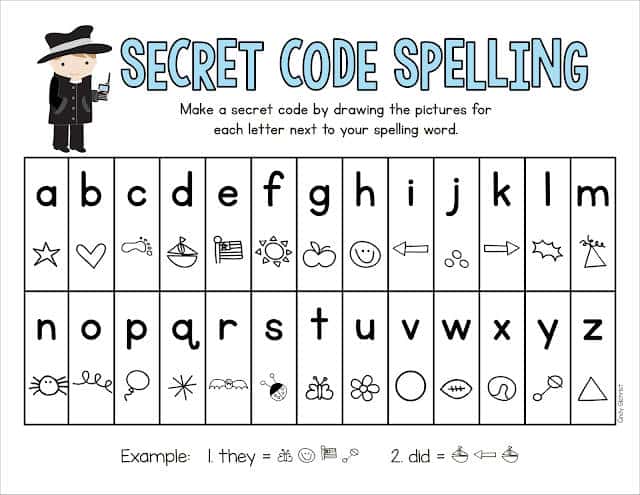
This is a great one for early readers. Give each of the letters in your clue/location a shape or symbol and write the clue in shapes.
Location based activities and questions you can ask
Once you solve a puzzle to find a location then you need something to do when you’re there in order to help to figure out the next letter. Here’s a list of ideas.
Find Something
It’s pretty easy to come up with a question about a location.
What’s the picture on the wall?
What color are the flowers?
You get the idea. Something that isn’t going to change easily, you’ll be planning this ahead of the party so you don’t want any surprises on the day!
Find Something Missing
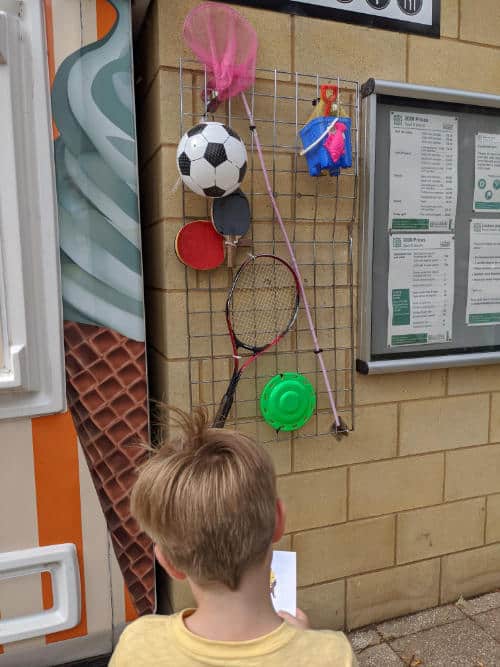
A good question to ask that needs a little bit of reasoning for young children is to find the ‘missing’ thing. Find a location like a cafe, billboard etc, what is NOT on it from a list of things?
Chalk the floor
Pavement chalk is easy to find these days. It’s also a fun activity on it’s own for young children. But for a puzzle trail, once they’ve found a location you can easily chalk a letter, symbol or picture on the floor if there’s nothing unique you can ask about it.
Count Something
Another easy option for some locations.
How many steps are there?
How many water jets does the fountain have?
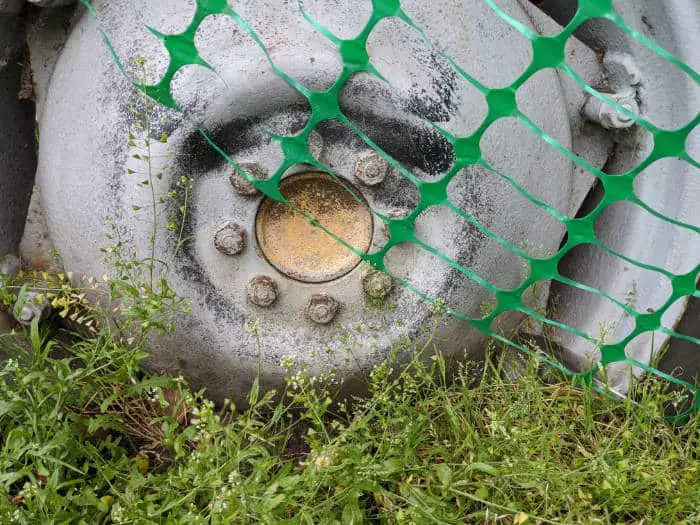
How many bolts on the wheel?
Read Something
You can make this as easy or difficult as you like.
What’s the date on the statue?
What’s the number on the floor?
What’s the name on the road sign?
If the name on a sign or of a person isn’t easy to understand or read, just make sure that the options you give for the answer don’t leave any room for mistakes.
Party theme
A great tip is using well known TV shows, movies, or computer games for your theme. Usually this gives you a nice repository of readily accessible images you can use on your printout (thanks Google image search).
Nobody is going to sue you for copyright infringement for using a picture you found on the internet for a small private party.
Our theme was secret agents. My son’s favorite computer game that he plays a lot online with his cousins was having a ‘secret agent’ season. You might want to try ‘Pirates’, ‘Princesses’, the most recent Pixar film you’ve watched or whatever your little one is into at the time!
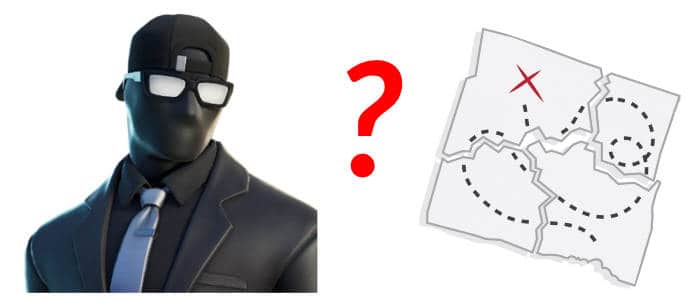
Doing it yourself means you aren’t limited to what you can use. Or what story you make up to tie the questions and the solution together.
Although the best thing about doing this for younger children is that the story doesn’t have to be believable in any way, they don’t question things as much as older children.
Free software you can use to make a puzzle booklet
I designed my entire booklet inside Google Docs. Some simple formatting, images found from the internet and pasted into the document and hey presto, that’s most of the work done.
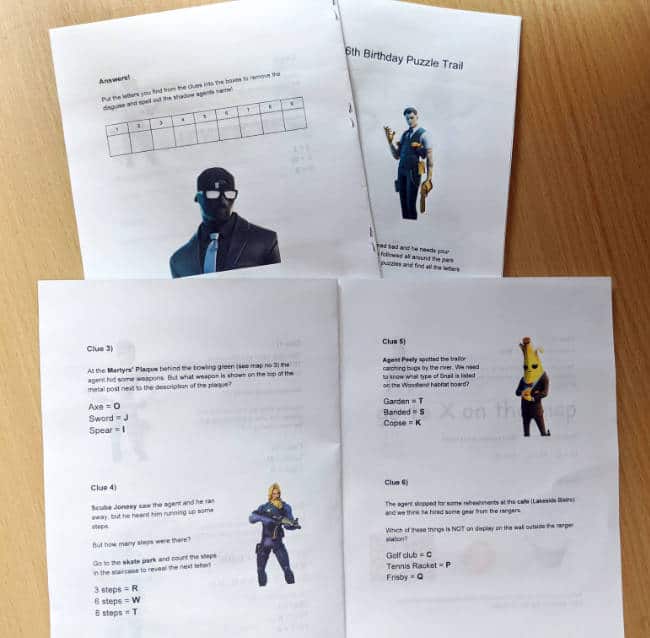
For the trickier parts like coded shape writing or adding a map to your booklet you’ll need basic computer skills and some graphics software. If you’re not much of a designer and don’t have access to Adobe. Don’t worry. There’s easy to use free web based options these days.
Ours map was a screen capture of google maps that I added numbers to.
Take a look at www.canva.com. Free forever, and you’ll be surprised what you can do with it, all from your browser. I’ve also always liked Paint.NET https://www.getpaint.net/, another free image editing tool.
I’ve already mentioned this, but the quickest and easiest way to generate mirror writing I found was here: https://www.dcode.fr/mirror-writing.
Finally, printing it all out…. Well that on depends on what printer you have. But I found that ours had a booklet printing option that took my 8 page document and turned it into a booklet that only used 2 sheets of paper. Then I only had to staple it together.
The reveal and prize at the end
Depending on what your solution is, it might be a good idea to make a little ‘reveal’ at the end for children who’ve found the solution. Something printed out just showing the answer so they can match it with their own work. You can see what we did below.
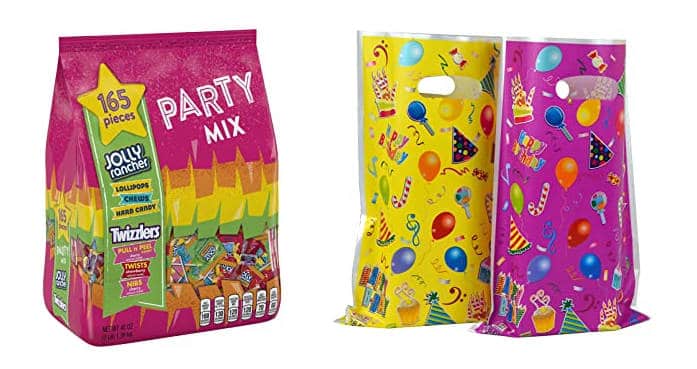
For the prizes we made party favor bags full of (individually wrapped) sweets and gifts as our prizes. No pieces of birthday cake, I’m not sure that’s a good idea at the moment! But who doesn’t like a bag full of sweets n treats? You could easily give little gifts, other party favors or even just a ‘congratulations’ to the children who finish.
Our trail documents for you to copy
Just before you open these be aware you can only VIEW those copies, they’re ours and I want to keep them for the memories, so I don’t want you messing them up! But if you want to use it as a base for your own trail please just use ‘File > Make a Copy’ to get them into your own Google Docs folder.
Here’s the links to our completed trail, and the reveal page.
How did it go?
Well our son loved it. He was very excited and when we told him before his party what was happening he even had some suggestions as to what he’d like to see on his trail.
The kids went off in small groups and worked together in small teams with parents close behind. So there was a lot of teamwork going on. The actual theme mattered less than I thought.
All in all it was one of the most fun and least expensive parties we’ve ever thrown. There were some compliments from other parents too. But I think the nicest thing that came of it was that the parents of other children with upcoming birthdays started to think a little differently. So we’ve a few more outdoor ‘parent organized’ parties scheduled now this summer 🙂


